Arched raised panels


Add elegant arches to any raised-panel door using a simple set of templates see Sources on last slide, and a flush-trim router bit. Of course, you'll also need rail-and-stile bits and a panel-raising bit.
Prep the parts and cope the rails
Template sets contain a number of paired templates to suit a variety of door widths. Referring to the labels on the templates, select the pair that match your door width. Check for any ripples, bumps, or irregularities on the curved edges that will transfer to the rail and panel, and sand them smooth, if needed.
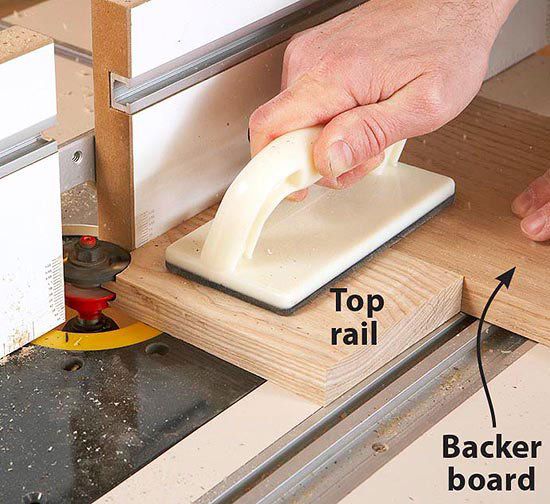
Making arches requires you to alter the width of the top rail. To determine the top-rail width, measure the height of the arch, photo below, add this dimension to the plan's stated width of the rail, add 1⁄4 " more for waste, and cut the top rail to width. (For the sample door shown above with 21⁄2 "-wide rails and stiles and a 11⁄2 " arch height, that makes the top rail 41⁄4 " wide.)


Cut the bottom rail, stiles, and panel to whatever sizes your project plan calls for. Then set up the rail-cutting bit in your table-mounted router, and cope the ends of the rails, photo below.
Lay out and cut the arches
Center the rail templated on the back face of the top rail with their top edges parallel, and trace the arch onto the rail. Then trace the arch of the panel template onto the panel as shown below.

Note: We make solid-wood panels 3⁄16 " narrower than the rail length to allow room for expansion. Aligning the template 3⁄16 " below the top edge of the panel keeps the raised field centered in the door.
Bandsaw or jigsaw to within 1⁄16 " of the lines on the top rail and panel. Using double-faced tape, secure the templates to each piece, aligned with the outlines you drew earlier. Trim the rail and panel to shape using a flush-trim bit in your table-mounted router to follow the templates, photo below.

Rout the grooves and raise the panel
Mount the stile bit in your router table, shown below.

Rout the groove and profile on the arched edge of the top rail. Then replace the fence and align the fence faces flush with the bit's bearing. Rout the stiles and bottom rail.

Set up the panel-raising bit in the router table and position the fence in front of the bit bearing, leaving about 1⁄2 " of the bit exposed. (This reduces the amount of wood removed by the bit.) Rout around the panel, moving the fence back about 1⁄2 " between passes until the fence sits flush with the bearing, photo below.
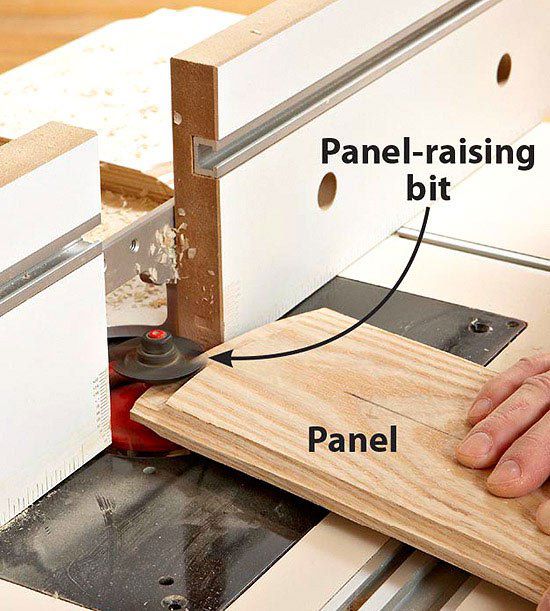
On smooth arches without shoulders at the ends, like the one shown here, you can rout the entire profile this way. Other profiles may require removing the fence to allow the bit to reach the full arched profile of the panel.
Sand the door pieces, and apply a stain, if desired, and first coat of finish to both sides of the panel. Then glue up the door, shown in first photo above.
Sources:
Template kits: Find a variety of template kits in many woodworking catalogs. We used kit no. TMP4 Roman, from Sommerfeld Tools for Wood, 888-228-9268, sommerfeldtools.com.