Cut Big-Time Joints with a Small-Time Saw


Start with the saw
Start by preparing a saw for joinery work. For cleaner cuts, set aside that 24-tooth rough-duty blade in favor of a 40-tooth regular-kerf blade. Then set the blade 90° to the base plate.
Next build the cutting guide shown below. Measure from the left edge of the saw base to the blade (when viewed from the top), add 1⁄4 ", and glue the fence that distance from the right edge of the guide. Glue a cleat 90° to the fence on the underside of the guide.

To prepare the guide, place it on a piece of scrap clamped to your workbench with the right edge overhanging the bench. With the left edge of the circular saw base pressed firmly against the fence, cut off the surplus 1⁄4 ". Now you're ready to start cutting joints.
Waste removal
If you have multiple workpieces to be dadoed the same, clamp them together for uniform cuts and a stable surface to support the guide. Mark where the dado will start, then use the mating workpiece to mark the end of the cut.
Next, adjust the saw blade to cut the dado depth plus 1⁄2 " (the thickness of the guide base). Here we're cutting a dado as deep as the mating workpiece thickness. Test cut a scrap piece to confirm the depth.
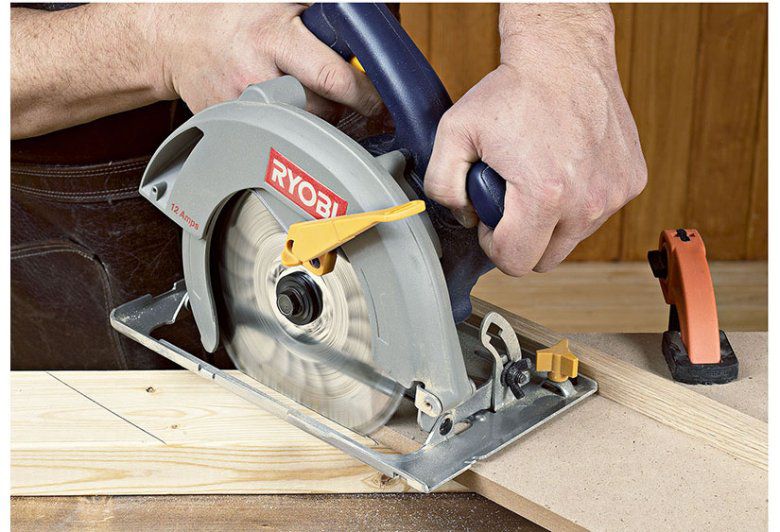
To begin cutting the dado, slide the guide edge to the left-hand mark, photo below. (Clamp the jig to the workpieces, if necessary.) Place the saw base against the fence and make your first outside cut. Then slide the guide toward the other cut line until the right jig base edge is a blade-width distance from the right-hand mark, and make the second outside cut, photo below.


With the joint defined, now cut kerfs roughly every 1⁄8 " to 1⁄4 " apart between the outside kerfs, photo below. You can make the kerfs slightly farther apart for softwoods, such as this cedar, or closer for hardwoods, such as white oak.

Removing saw kerfs
After the final kerf cut, use a hammer or your fingertips, photo below, to break the waste off as close as possible to the bottom of the kerf. Clean up the leftover waste with a chisel at least 1" wide. Place the chisel bevel-side up on the smoothest portion of the dado and gently shave off the waste, photo below. You'll still have score lines from the alternating-bevel teeth of the blade, but the surface between the marks should be smooth.


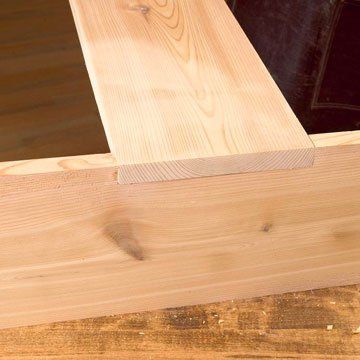
The mating workpiece should fit snugly into the dado without excessive force, photo below. If it's too tight, shave one side of the dado with your chisel or sand it using a scrap block with 100-grit abrasive on one edge. Then glue and assemble the joint, reinforcing it with fasteners as needed.

Shop Tip
Not all half-laps or notches require a 90° cut, but you can manage any joint angle quickly and easily with a modified version of the 90° jig. Instead of attaching the fence at 90°, angle and center it on the jig base. Depending on the angle, you may need to extend the fence at the front of the jig to help align the saw base. Use a sliding bevel and protractor to set the fence angle. To give the saw a firm footing as you start the cut, move the underside cleat in 1" from the edge so the jig base overhangs the workpiece edge. Then make the cuts between your lines as you would for a 90° joint cut.