How to close a miter gap

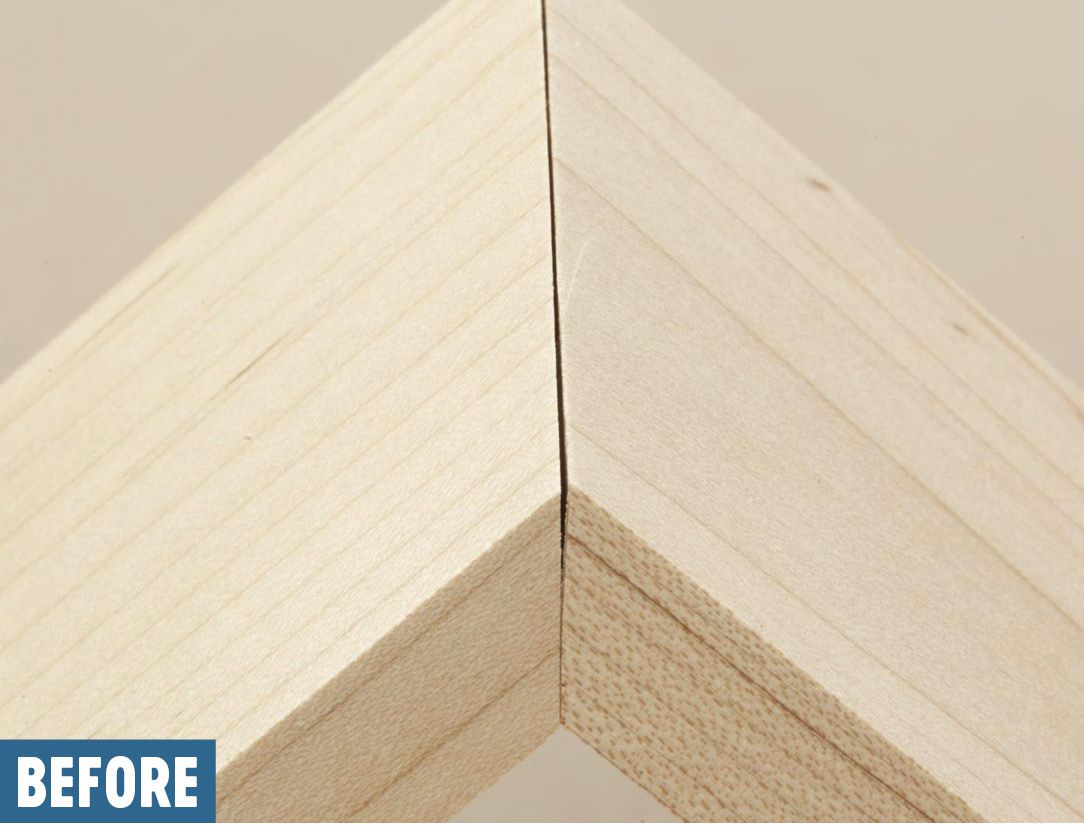

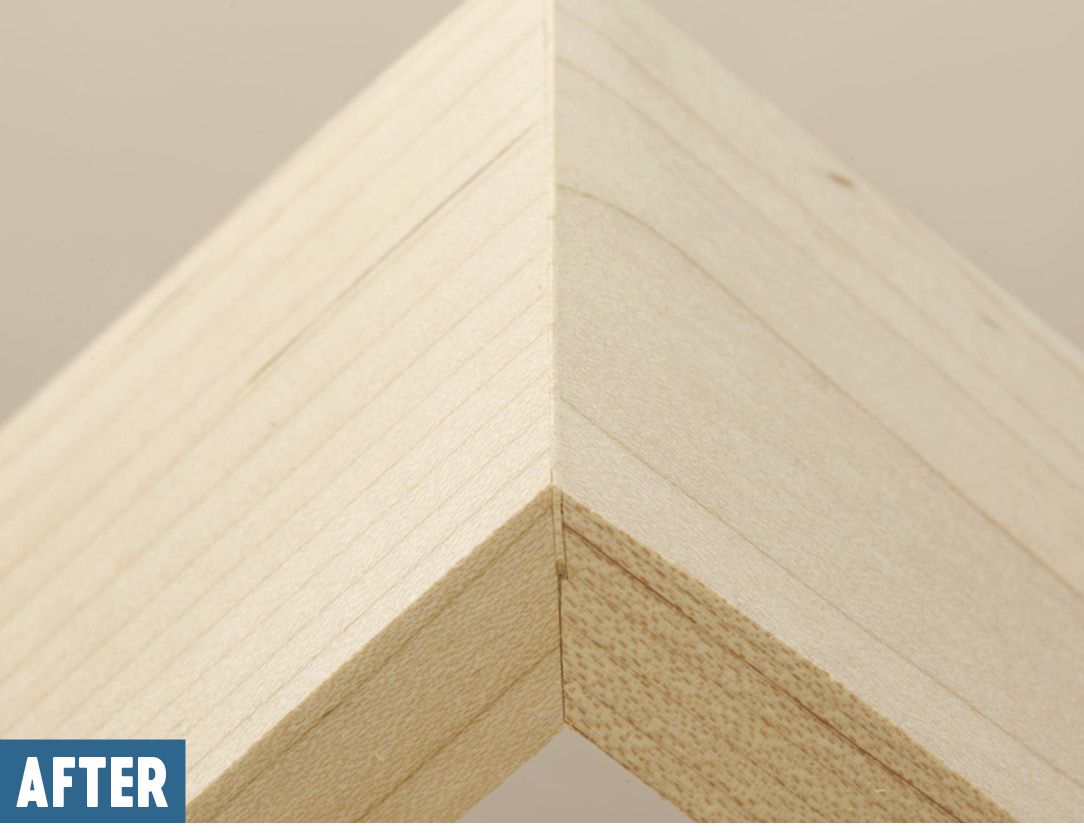
Let's face it: Miters are fussy, especially when cutting them on all four corners of a box. With eight cuts, an error of even 0.25° on each miter adds up to 2°, which shows up as an unsightly gap when you try to close that fourth corner. Don't despair—this technique makes that gap disappear.
First, saw a kerf in the joint
Yes, you read correctly: You're going to make the gap larger. But don't fret, because you'll then plug it with a sliver of wood. (Skip this step if you can plug the gap without sawing.)

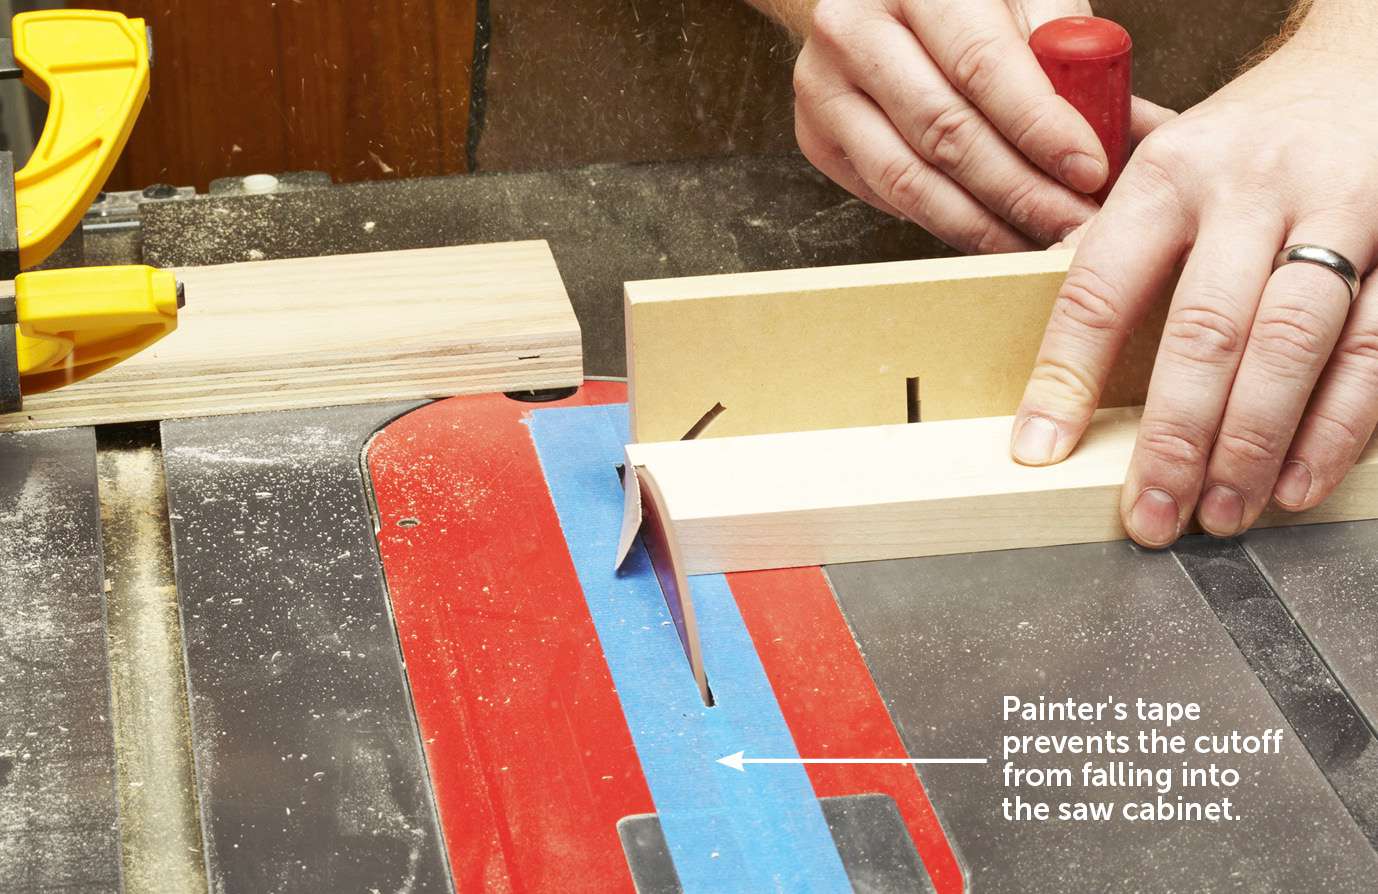
First, you need a guide to control the saw's angle, so grab a scrap of wood about the same width as your project's sides and about a foot long. Cut it in half with a 45° miter across the width. Clamp one piece to each outside face of the project's open miter, as shown at above. Then, saw a kerf as deep as needed to eliminate the gap without cutting the joint apart. Remove the saw guides.
Fill the kerf with a wood sliver
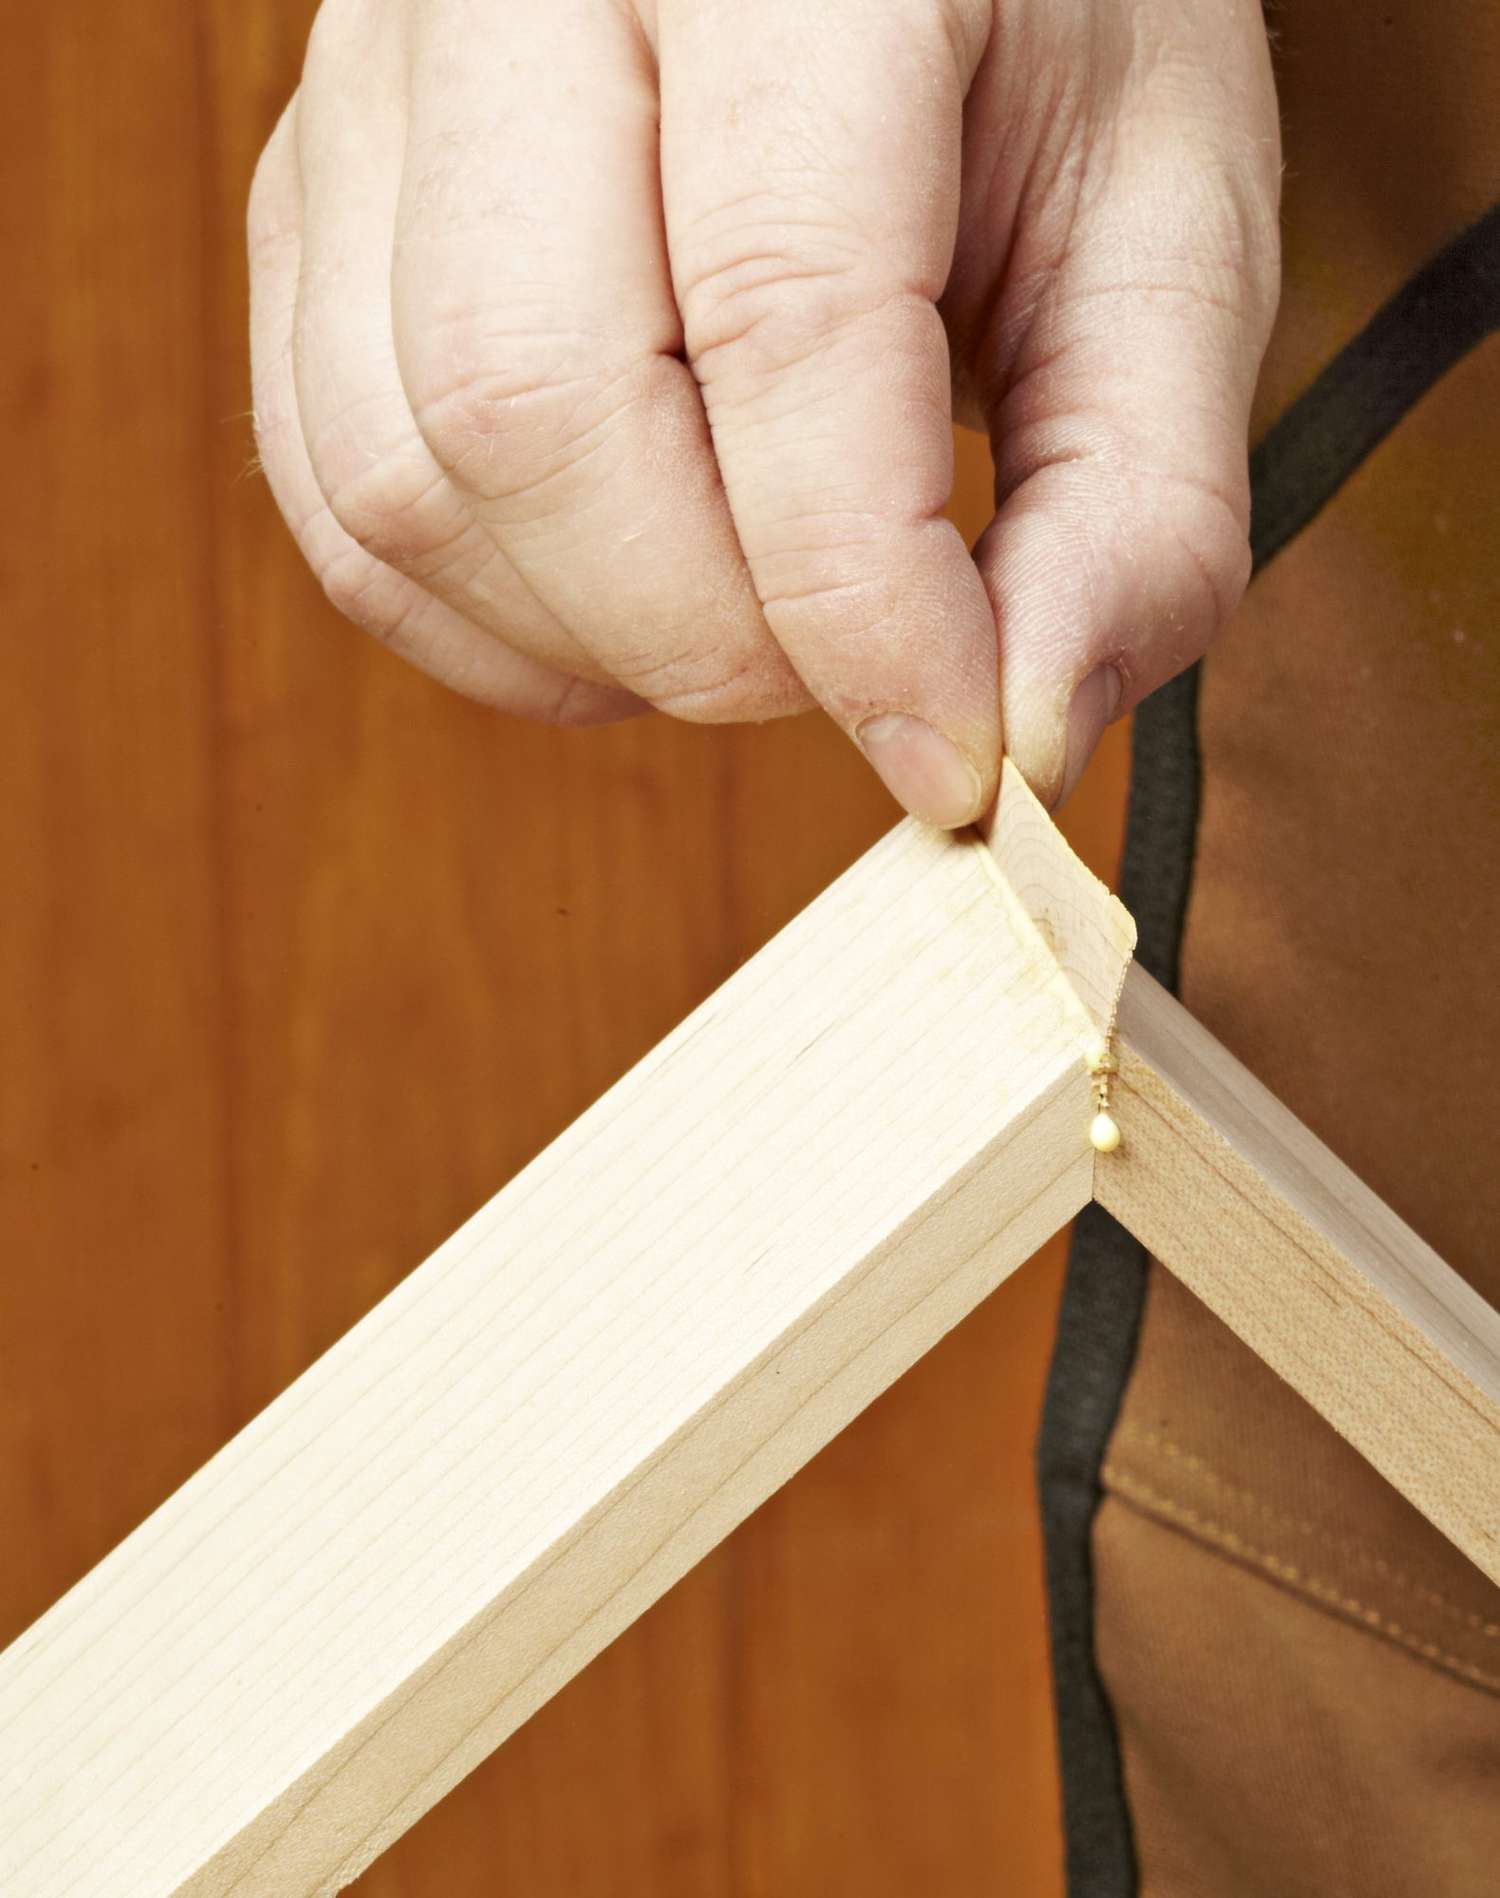
From a leftover scrap of project stock a bit wider than the joint, crosscut a sliver (photo, above) that fits snugly in the saw kerf. Cutting the sliver in this orientation prevents end grain from drawing unwanted attention once you've applied finish.
Carefully sand a slight taper along one edge of the sliver so it fits better in the gap—a few strokes with a sanding block will do. Then dab a bit of glue in the kerf and on the sliver. Gently slide the sliver back and forth in the kerf until it bottoms out, as shown on the top image. After the glue dries, trim the excess and sand the joint smooth. If tiny gaps still exist, rub glue over them and sand the area lightly to fill the gap with dust. Sand away excess glue after it dries.