How to get consistent stain on problem woods


Staining a beautifully crafted piece can give pause to even experienced woodworkers because we fear the finish may come out blotchy. But knowing a bit about how stain works, and how to control it, wipes away all the worry.
What gives stain color
Pine also contains resins that inhibit pigment absorption.
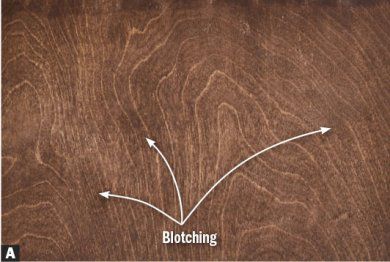
In stain, pigment particles carry the color. Variations in the wood density and porosity affect how many particles adhere to the workpiece. Staining oak, for example, creates a distinct grain definition, with more pigment lodging in the porous earlywood and less in the dense latewood. By contrast, pine, maple, and birch have variations of density and porosity within the earlywood and latewood that lead to inconsistent absorption, which appears as blotching [ Photo A, below].
Sanding and sealing secrets
Tip!
On solid wood, reduce the tendency of end grain to absorb more stain than the faces by sanding the end grain two grits finer than the faces.
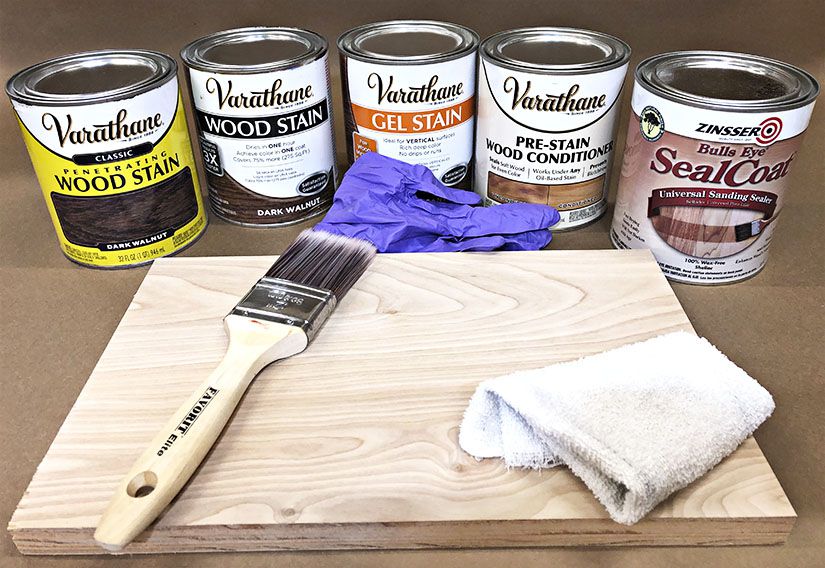
I recommend three methods to beat blotching: using a conditioner, a shellac seal-coat, or applying gel stain. Experiment with each to see which gives the results you want. You may find you prefer different solutions for different wood species. In the samples below, I chose birch-veneer plywood to show how the stain looks by itself, and when applied with conditioner or shellac as a sealer.

Wood conditioner is simply stain without pigment [Photo B, above]. After wiping away excess conditioner, apply stain immediately for a nearly blotch-free surface, but with a lighter color [Photo C, below]. To darken the color, apply a second coat of stain after the first has dried. No additional conditioner is needed.

Shellac works in the same manner. Simply brush on the shellac and allow it to dry before staining [Photo D, below]. This happens quickly, so you can begin staining sooner.

Gel stain suspends pigments in a creamy carrier [Photo E, below]. The heavy viscosity slows penetration, allowing you to wipe away excess from areas that show blotching and to let it sit longer on lighter areas [Photo F, following].


The color of a particular board affects the look of a stain. Red oak can have red, tan, or even brown hues, so the same stain looks different on each of those colors. Select boards of similar tones to create a more consistent look.
To ease your mind before staining any wood, start with a sample board. As you build, glue up project scraps to provide a representative sample board. Include plywood and hardwood, if you used both, so that the effect of conditioning, staining, and finishing will be apparent on both materials. Mastering staining problems isn't hard, and if you follow these tips it will be much easier.