Low-cost spray finishing

Spraying delivers a smooth finish, whether you're painting a project, or you're applying a clear top coat. We use our HVLP turbine system and spray booth in the WOOD® shop all the time.
If you're only going to spray occasionally, though, you don't have to invest in a full spray system. These simple alternatives provide economical spray-finishing performance.
Get can-tastic results
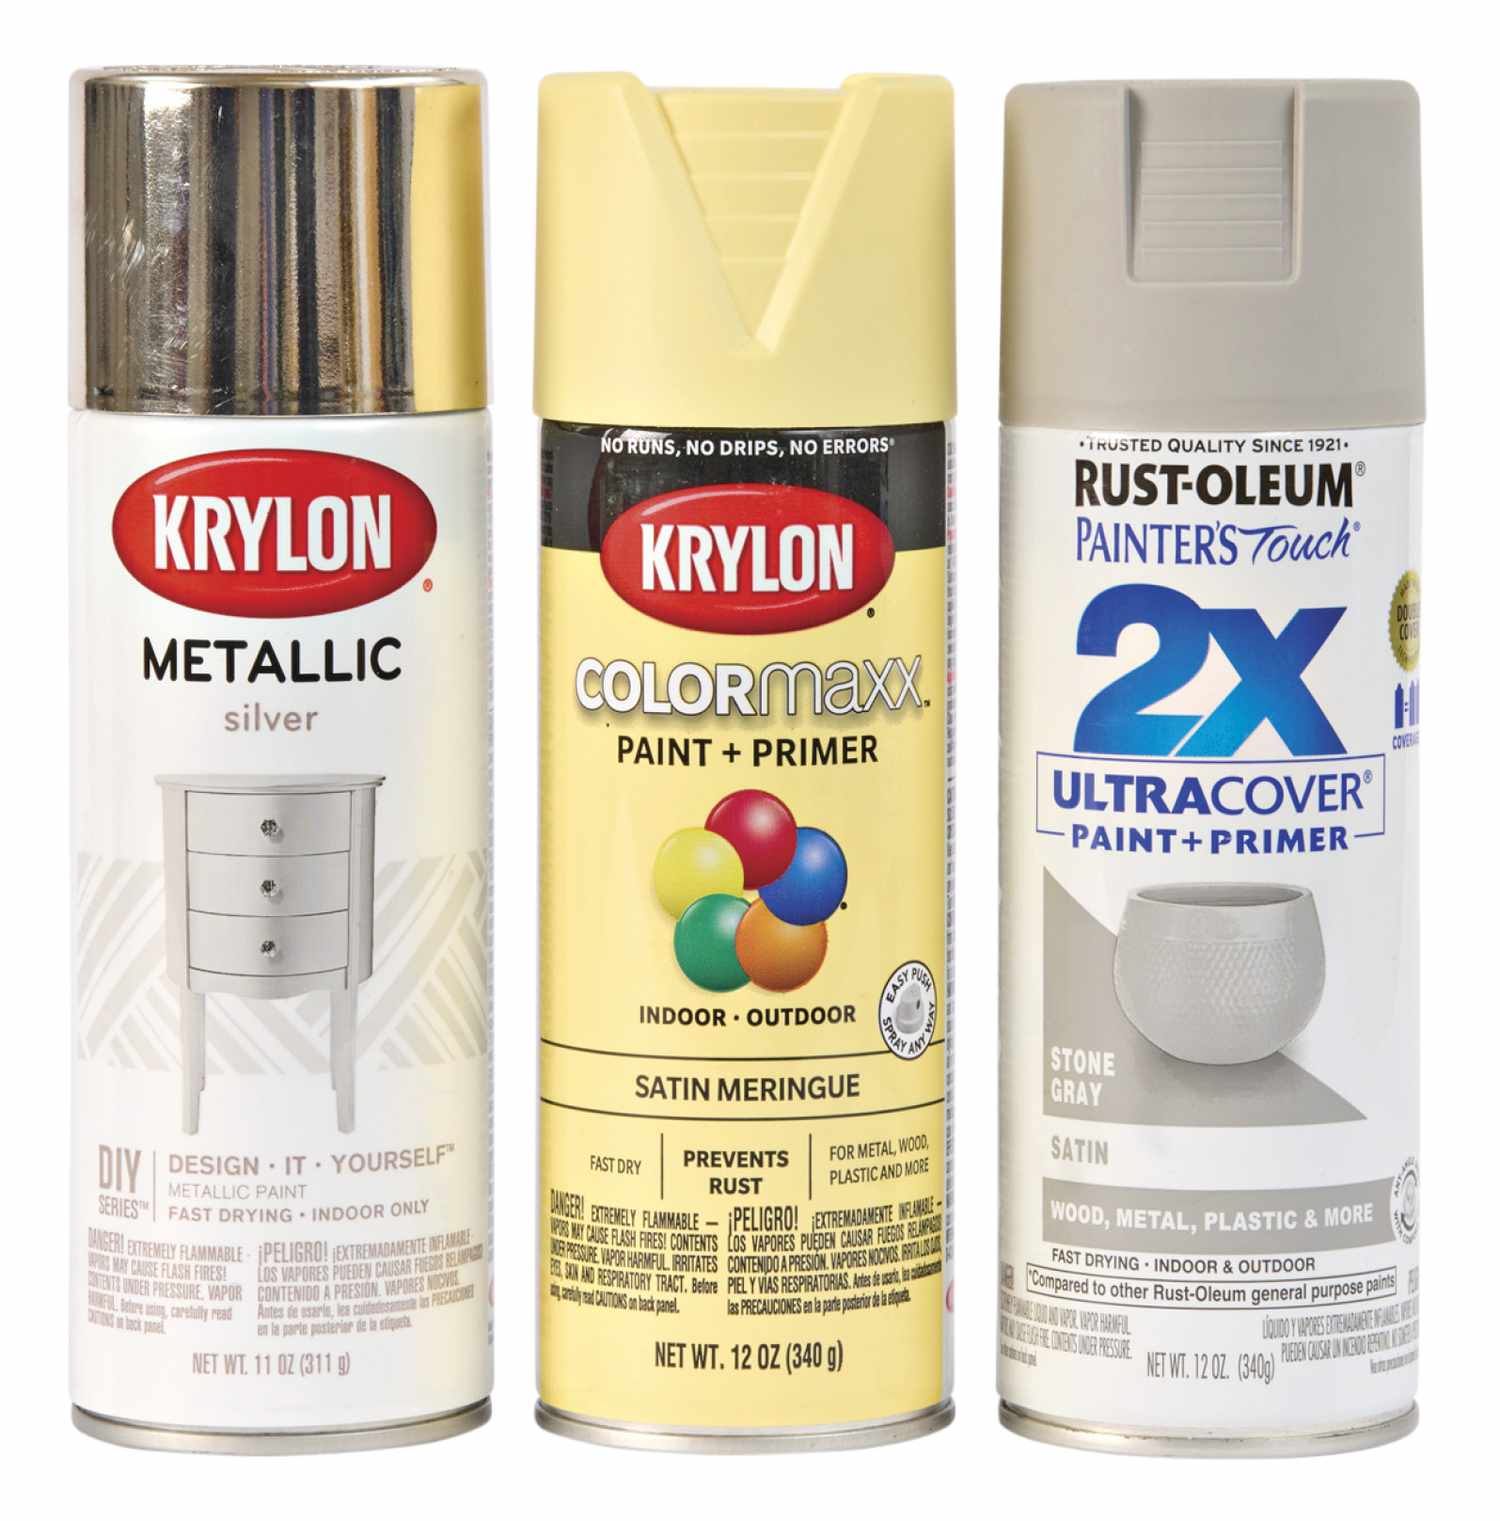
Aerosol cans present the simplest solution around for spraying. Your nearest hardware store or home center offers a can of about any imaginable paint color. Spray paints also come in unique formulations, shown below.
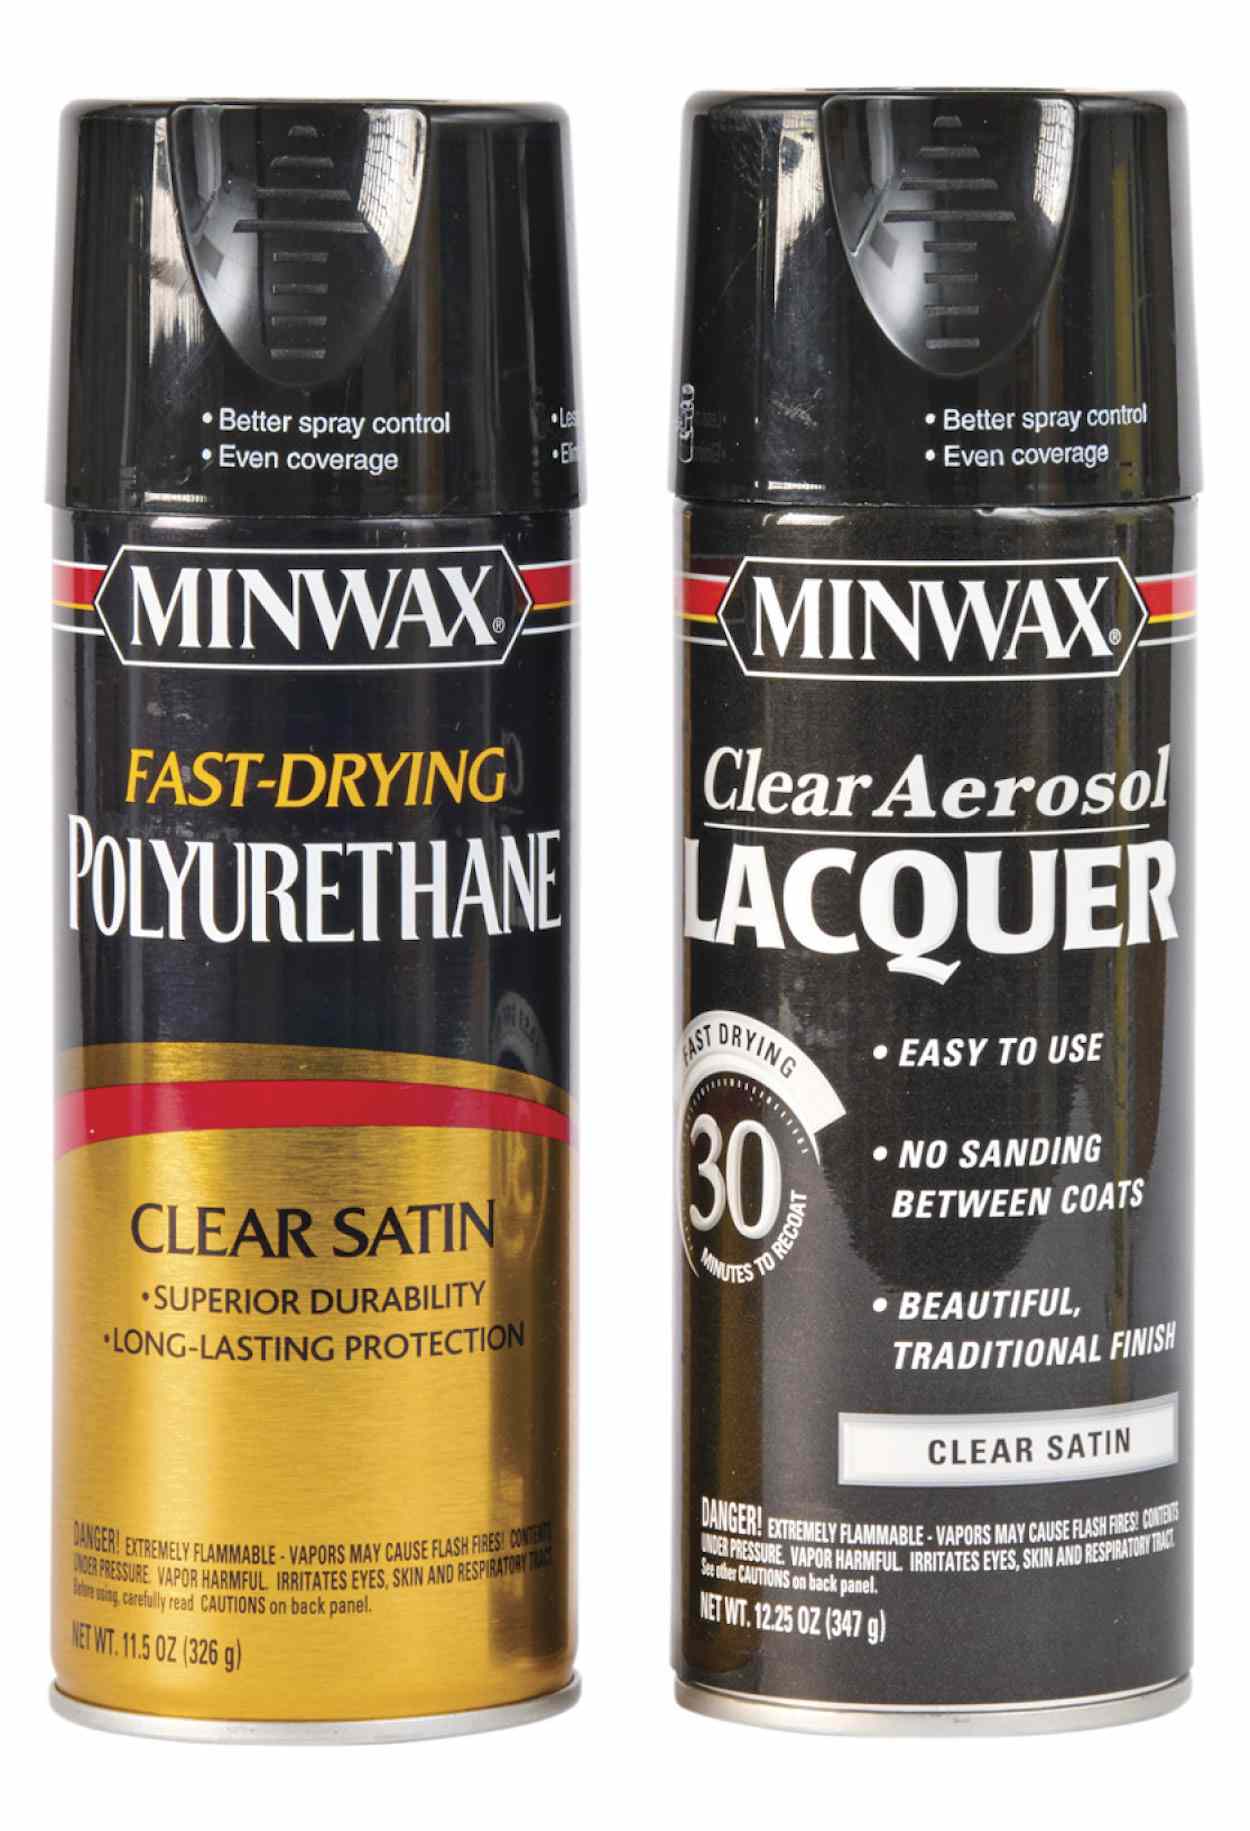
Aerosol lacquer provides a great way for anyone to apply this spray-friendly finish. Spray polyurethane is common these days, too, shown below. Both work well for small or intricately shaped projects.

Spray paints and finishes do have a few drawbacks. First, they often cost more than brushable versions per coverage area. Second, because cans spray at high pressure, up to 75% of what you spray can end up as overspray—aerosolized finish that gets blasted away rather than settling on your project. Third, because the paint or finish is thinned, aerosols usually require more coats than brushed-on versions to provide an equal amount of protection.
Pick your pattern
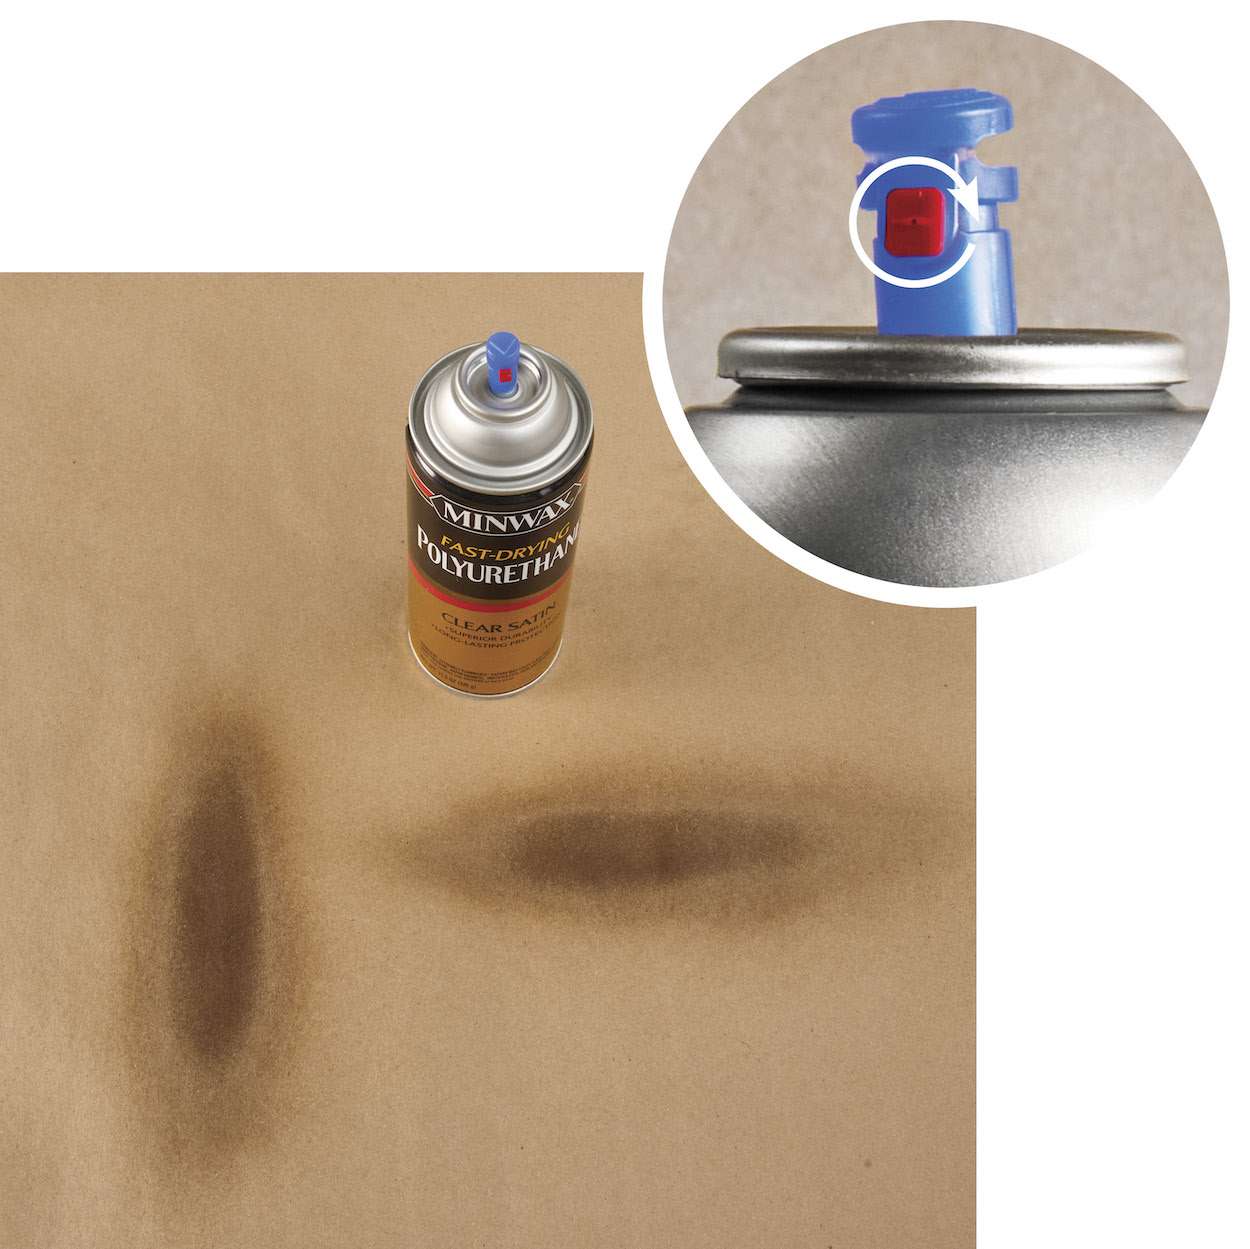
Aerosol lacquer and polyurethane usually spray in a wide fan of finish that lands in an oval pattern. Many of the cans feature a nozzle that rotates so you can orient that oval either vertically or horizontally.
Tips for spray-can success
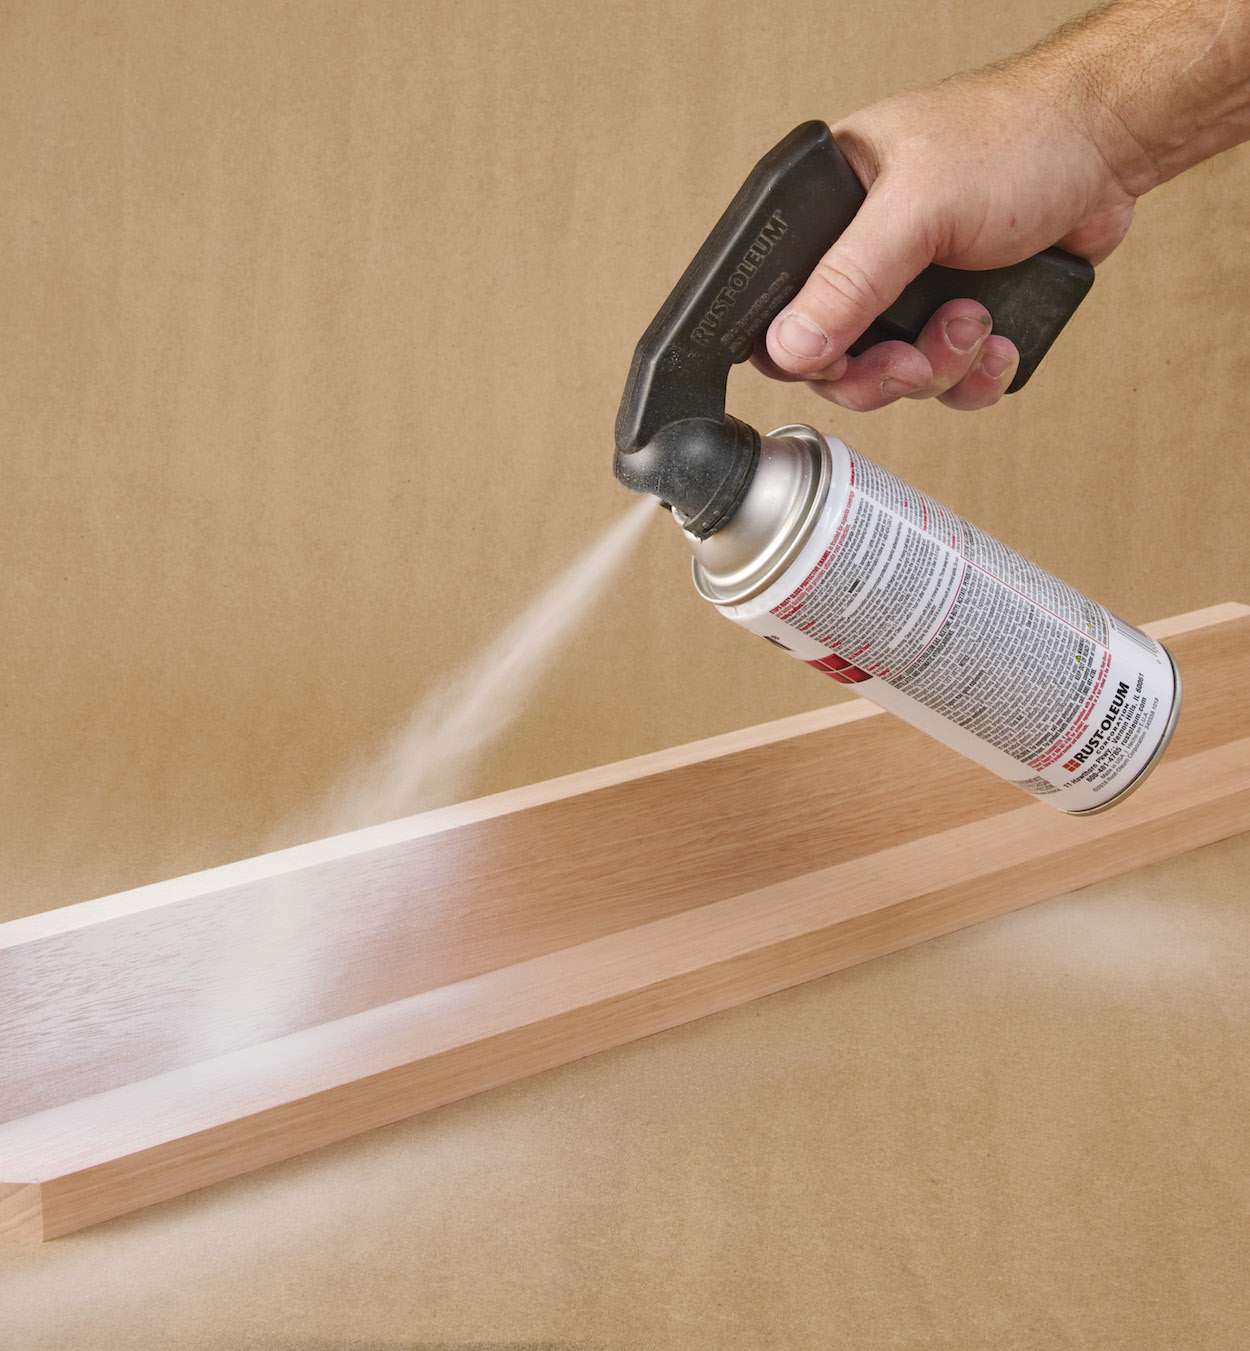
1 Shake spray cans well—and then some more—to thoroughly mix the contents. Not only will you get a better finish, you'll help get every bit of the contents out of the can. Shake the can for a few seconds periodically while you're working, too.
2 Test-spray a scrap before you begin coating your workpiece. This gives you a feel for the nozzle's spray pattern, as well as how much you can apply before risking runs.
3 Move the can in straight lines, starting to spray before your workpiece and stopping beyond it. Overlap each pass by about 50%.
4 Apply several light coats instead of one heavy coat, paying attention to the recommended recoat time in between.
5 Add an auxiliary grip, shown above, to reduce fatigue and increase control.
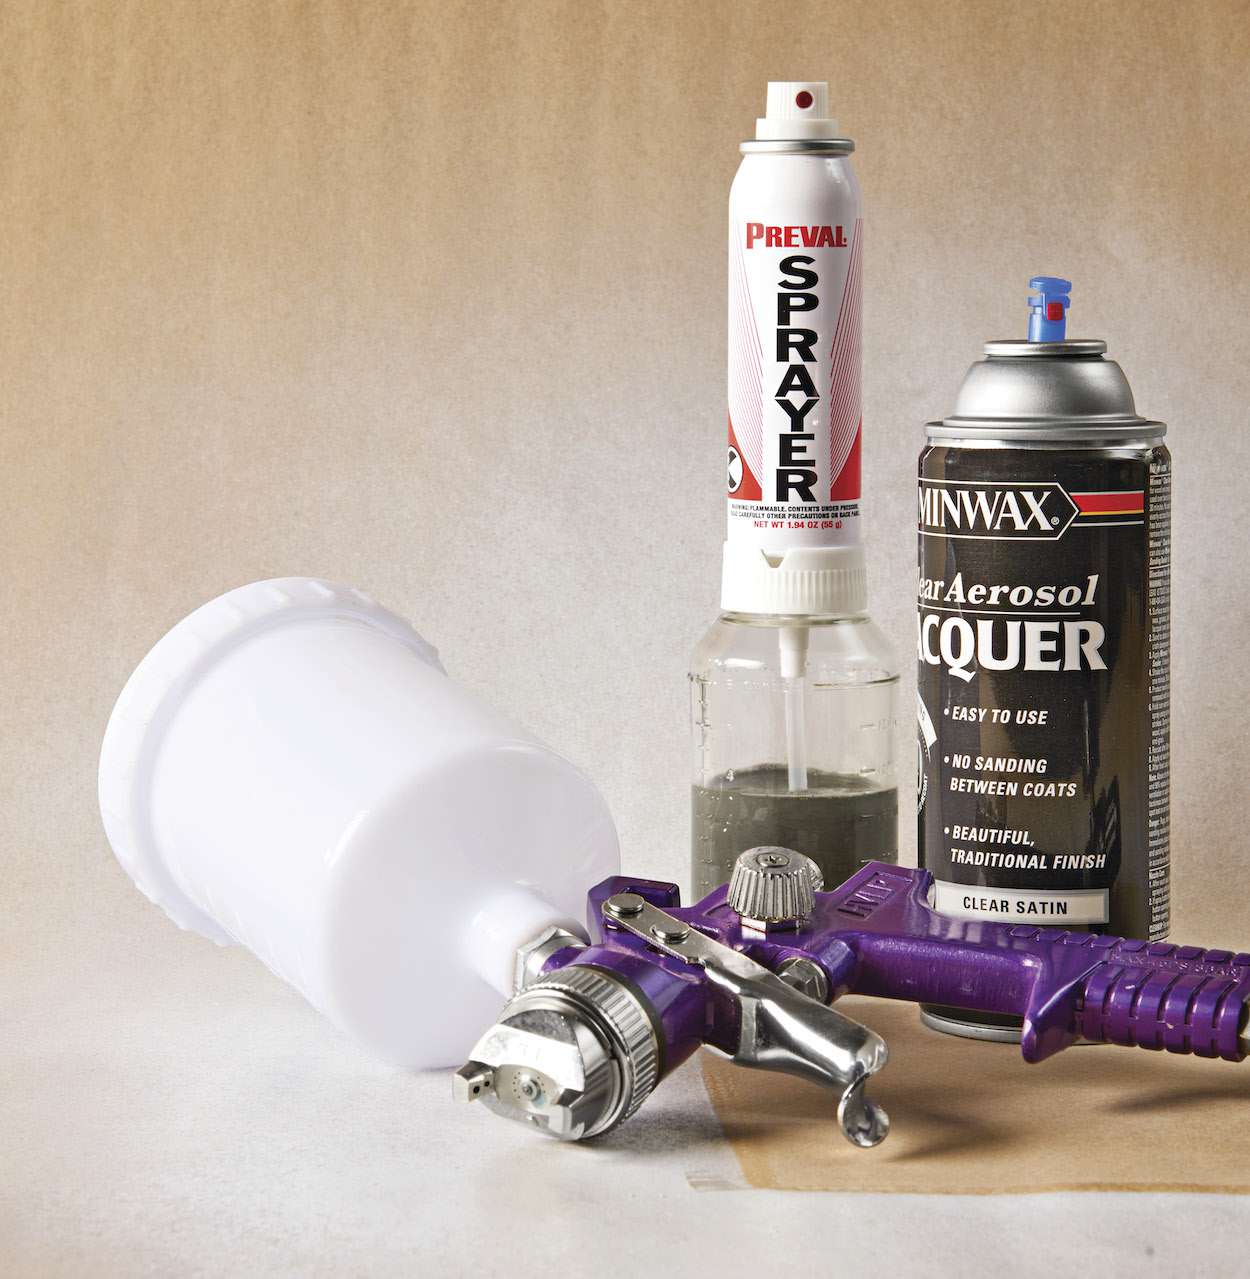
Create your own spray can
Even with the amazing selection of spray paints and finishes, you'll find a time when you need something you can't find on the shelf. Perhaps you'd like to spray a conventional brush-on paint color you already have. Or maybe you have plenty of polyurethane finish on hand, but have a small project you'd like to spray.
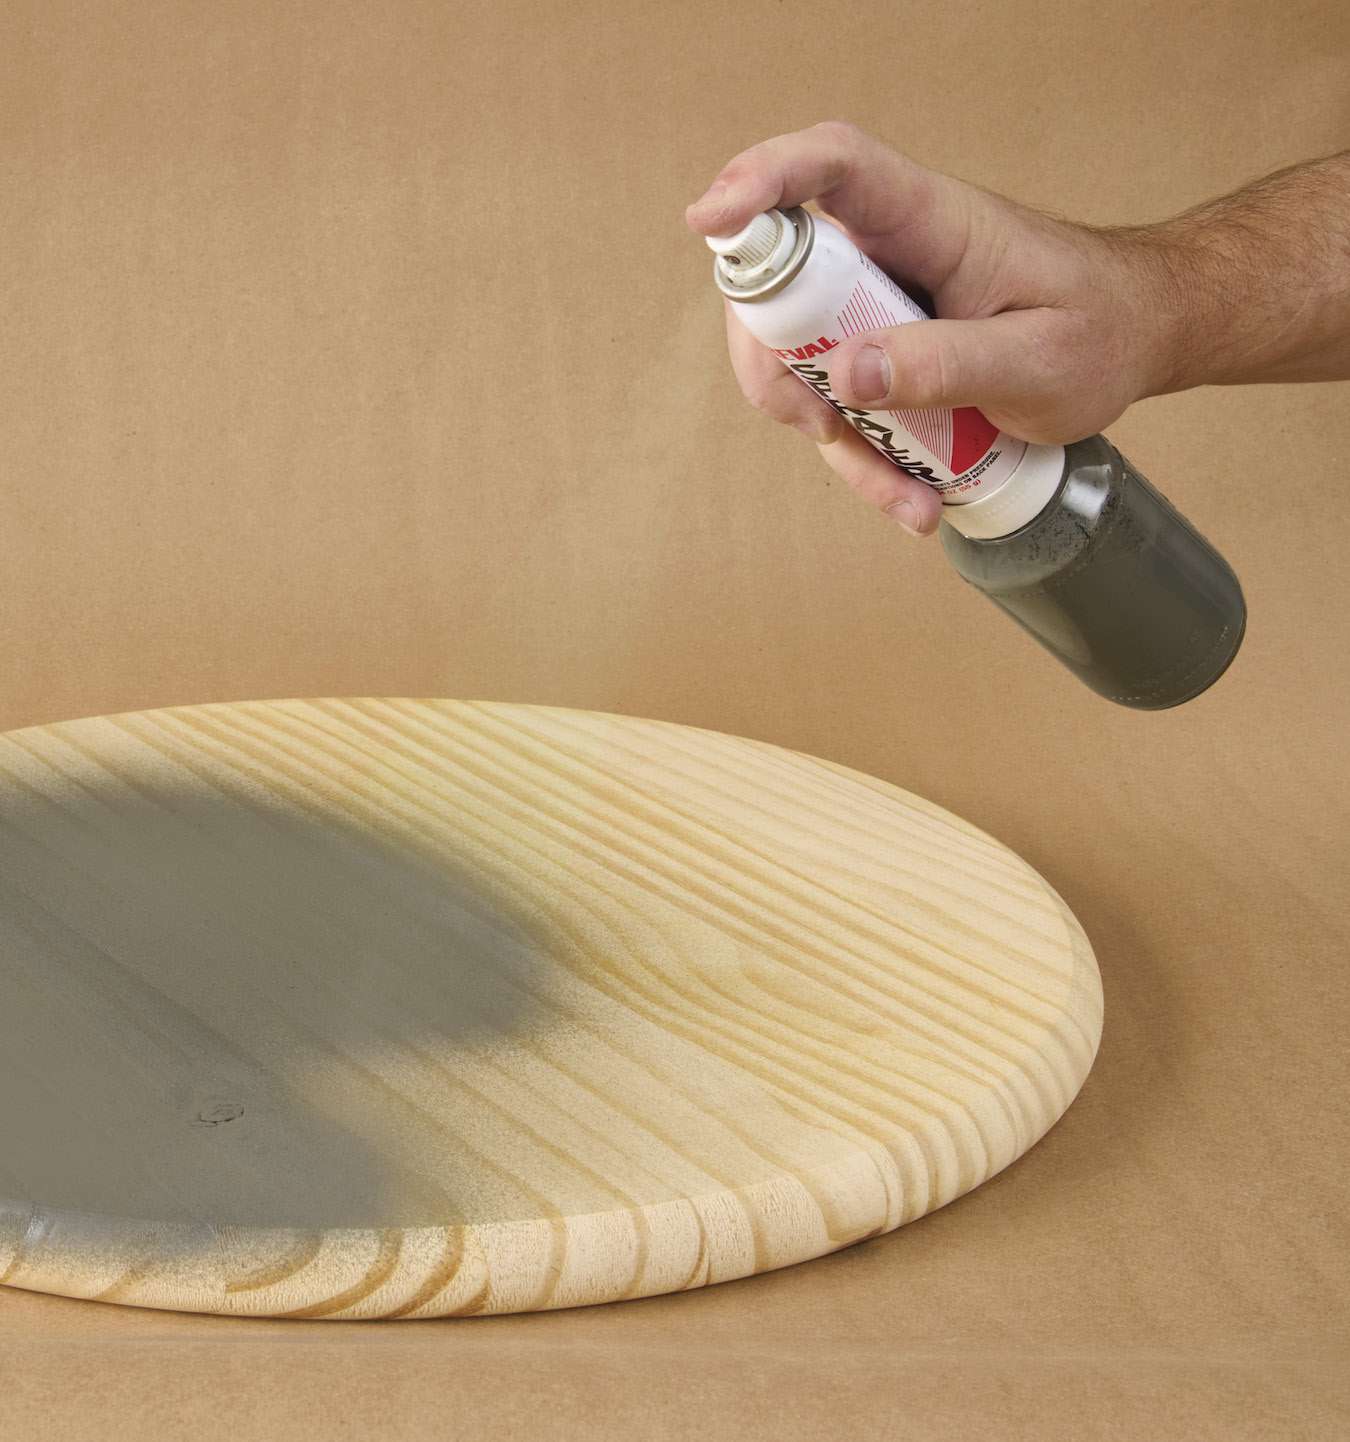
In those cases, a customizable spray system like the one shown above, Preval [Sources] answers the challenge. Many finishes can simply be poured in and are ready to spray. If the finish is too thick, thin it using the solvent recommended on the can for cleanup—usually mineral spirits or water.
Tip! To reuse the sprayer for a different paint or finish, simply pour a small amount of the appropriate solvent into the empty jar and spray for a few seconds. Then wipe the sprayer parts and jar clean.
Latex paints will almost always have to be thinned for spraying, but it's easy. See A Stick Trick for Thinning Paint, below, to learn more.
Get a low-dough spray gun
Aerosols are quick and easy but, if you have a large project to paint, the cost and wastecan add up in a hurry. If you own an air compressor, there's one more low-cost solution to try: a basic high-volume, low-pressure (HVLP) spray gun.
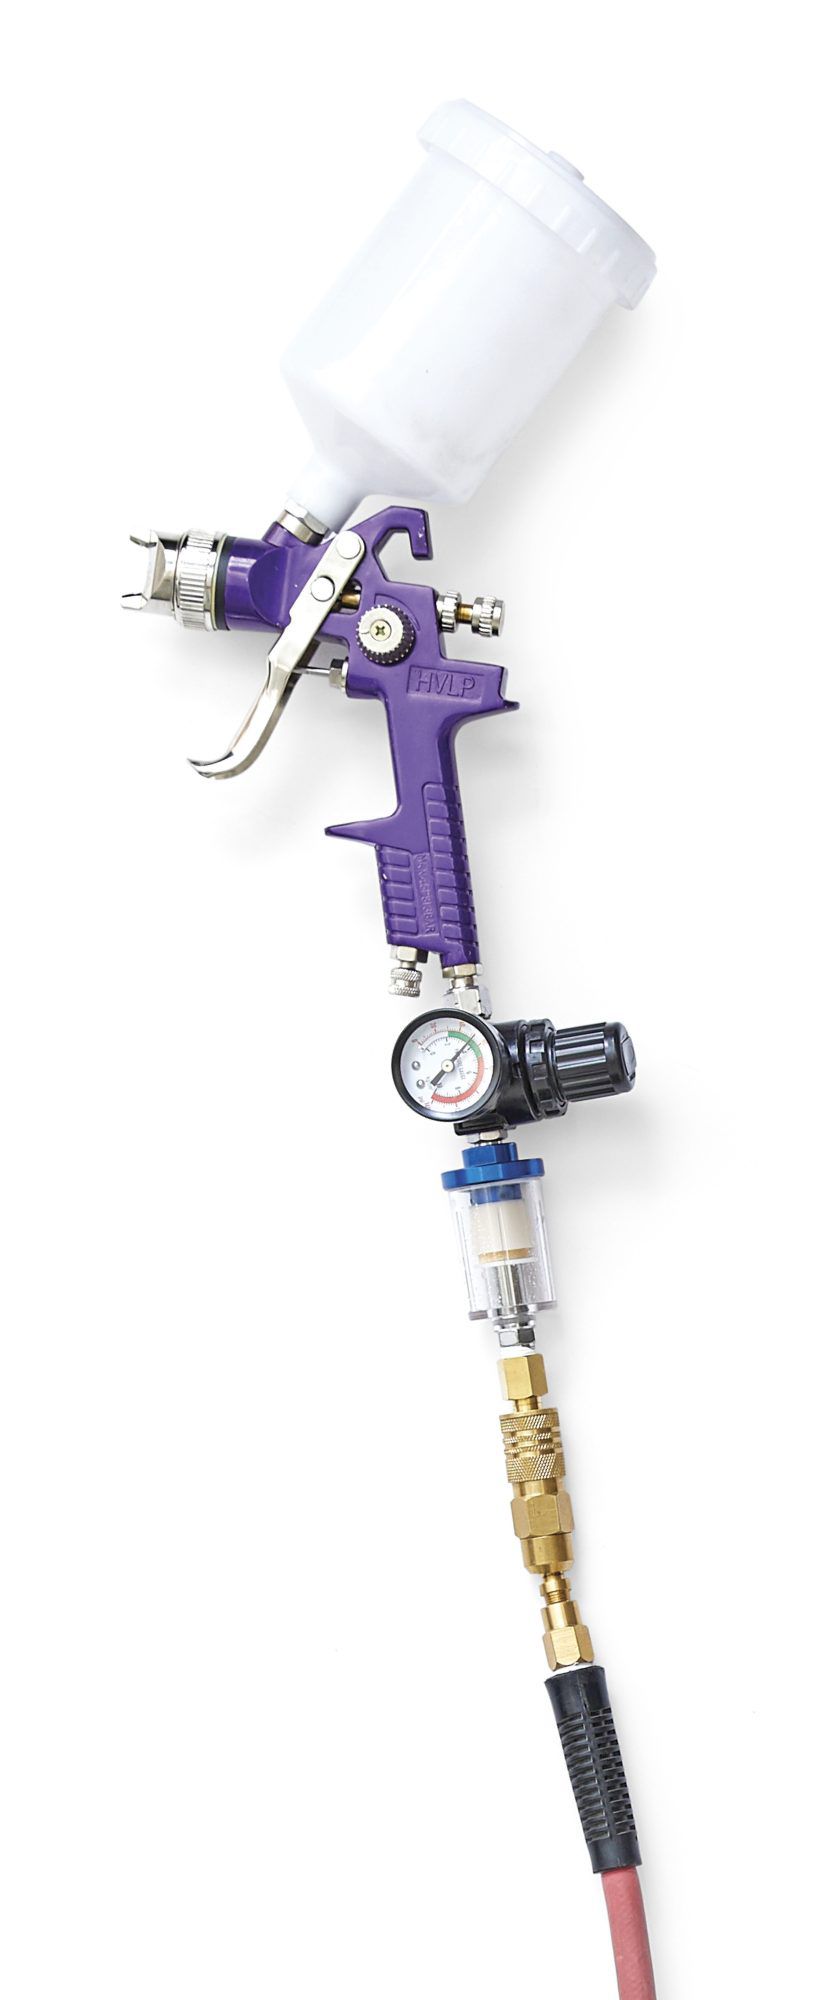
The gun above from Harbor Freight Tools [Sources] has become Internet famous because it is inexpensive. It sells with a pressure regulator, and costs less without. That means you can pick one up for about the same price as a couple rattle cans.
While we can't vouch for all inexpensive guns, we can tell you this one works. We've painted several projects with one, including the "Kid's Craft Center." Is it a professional spray gun or a substitute for an HVLP turbine system? Certainly not. For the money, though, we find it pretty hard to beat for spraying paint.
Even a small spray gun like this consumes a lot of air. A small pancake- or hotdog-style compressor will run continuously to keep up. For occasional spraying, it's a noisy inconvenience. If you'll use a spray gun often, a 5-gallon or larger compressor is a must.
Whichever of these low-dollar spray solutions you decide to try, getting great results requires some practice. Always do a test spray before you begin coating your project. (A cardboard box makes a great test subject, replicating both the interior and exterior of a project.) That way you can be sure the sprayer is working as you expect it to. In no time, you'll get great spraying results.
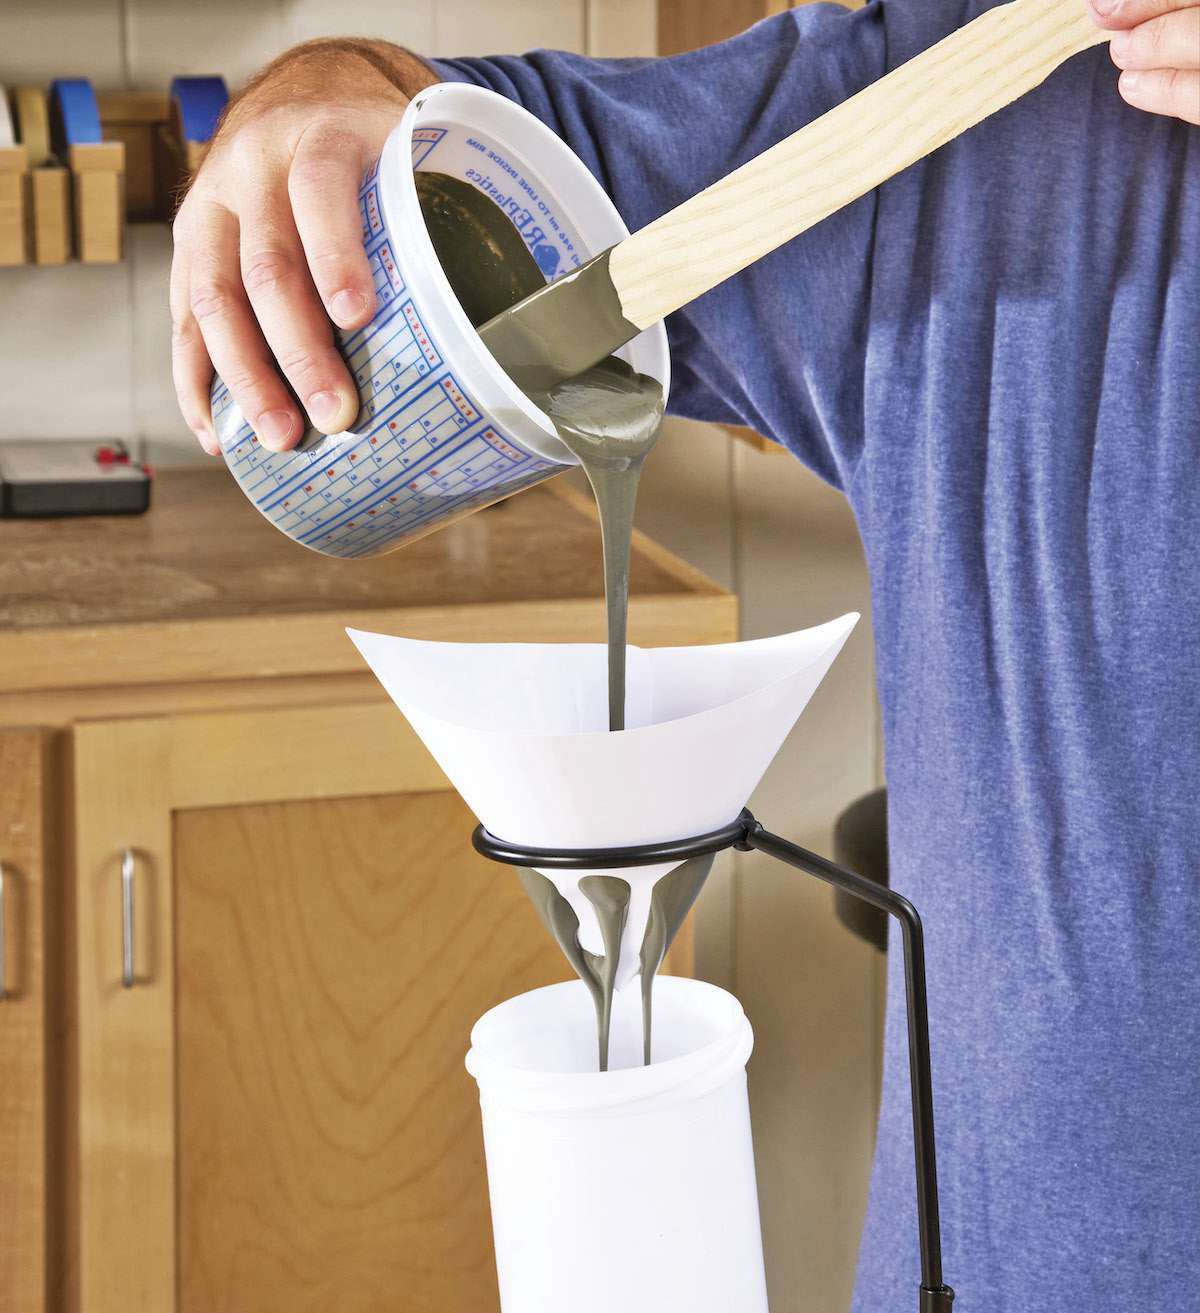
A stick trick for thinning paint
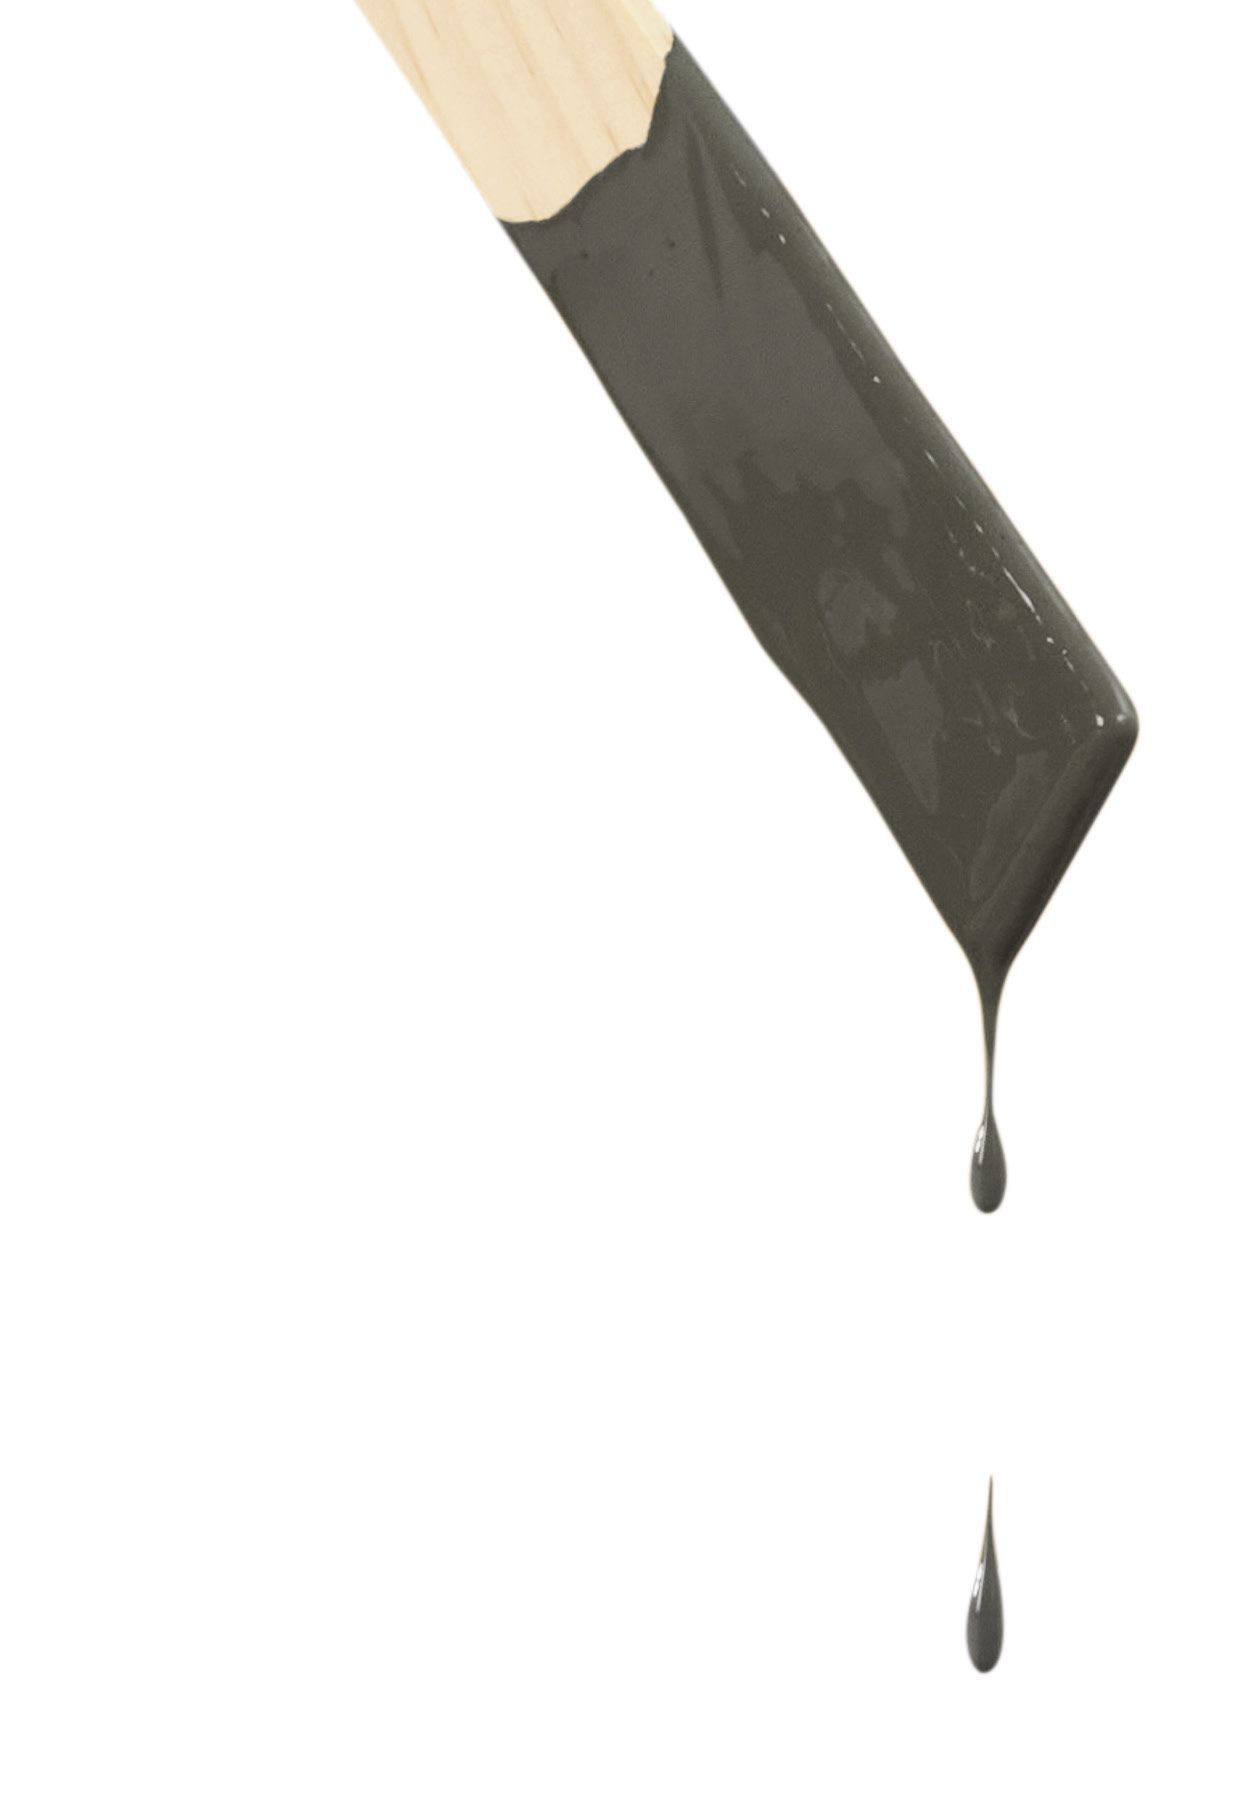
Making latex paint sprayable requires only a container, water, a stir stick, and a keen eye to watch how the paint flows.
Pour some, but not all, of your paint into a clean, quart-size container. Add a small amount of water—no more than a tablespoon to start—and then stir. Lift the stick at a 45° angle and watch the paint run off. Slow, large drops mean the paint is too thick and you'll want to add more water. A continuous stream of paint is too thin, so add a bit more paint. When you see individual drops running off in rapid succession, you're ready to fill your gun and spray.
Pour through a paint strainer into the gun's cup. This will catch any chunks and help mix the paint more throughly as it runs through the strainer mesh.
Sources:
Rust-Oleum Spray Grip no. 243546, amazon.com. Preval Spray System no. 0226, 815-634-5890, preval.com. Central Pneumatic HVLP Gravity Feed Spray Gun with Regulator; Oil/Water Separator, Paint Strainers, 800-444-3353, harborfreight.com.