Planer tricks & truths


Almost any thickness planer gives quick results, but is yours giving you quality results? If not, check your machine as described here, and then put these shopproven practices to good use.
For starters, make sure the cutter knives are sharp and properly aligned. Run a piece of stock through it, and measure the thickness of each edge with calipers to determine if the knives are even. Make any needed adjustments.
When planing, take a light cut—no more than 1⁄32 "—on the final pass. And here's a tip we use in the WOOD® magazine shop: Lower the cutterhead beyond your desired depth of cut, and then raise it into position. This step helps to reduce snipe—a slight gouge on the ends of boards—by taking up the slack in the cutterhead adjustment threads.

Let's go on an anti-snipe hunt
Almost any portable planer used in a home workshop will create some snipe. Tool experts blame a couple of factors, both related to the pressure rollers that hold the stock flat and feed it through the planer. One problem is that each end of the board can rise up into the cutterhead while it's between the rollers. Also, on some planers, particularly those with only two posts instead of four and those without a locking feature, the cutterhead pivots slightly when the workpiece is applying pressure on only one roller.
Snipe that's .005" deep, for example, doesn't sound like much, but it's a visible flaw that only a good deal of sanding or scraping can eliminate. Aim to hold the snipe to about .002", which is equal to the thickness of a couple of pages of this magazine. You can make that amount of snipe quickly disappear with light sanding.
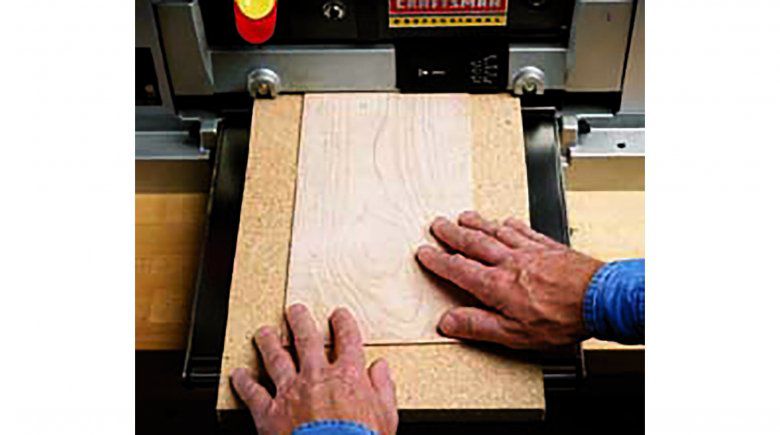
One or more of the techniques shown here should get your snipe problem under control. The simplest method is to start your board at an angle, as shown in the opening photo. The board's corner preloads the cutterhead with the least possible exposure of the workpiece. Swing the board perpendicular to the knives immediately after they start cutting. Of course, this method is not an option with boards that are near the planer's limit for width.
The approach shown in the photo below is more time-consuming, but pays off when you're handling short, expensive stock—or any piece shorter than the distance between your planer's rollers. Use scrap equal to the workpiece in thickness, or slightly greater, and about 8" longer. The guide strips receive all of the snipe.

Keep your boards butted together, as in the photo below, and only the first and last pieces get sniped. Use scrap pieces at both ends of this parade, and your good stock in between remains snipe-free. In some cases, it helps to have someone assist you in moving the boards from outfeed table to infeed table.

Explore edge-jointing
In addition to face-planing boards to the desired thickness, a planer also can edge-joint several pieces simultaneously to achieve the same width. To do this, cut the pieces slightly oversize on the tablesaw. Then, clean up the tooth marks and make sure the pieces are equal in width with a trip through the planer, as shown in the photo below. In this situation, it's easiest to deal with snipe by cutting the pieces slightly overlength. Trim them to final length after planing.

Plane really thin stock
For stock less than 1⁄4 " thick, cut a carrier board to fit through your planer, as shown in the photo below. Attach your workpiece to the carrier with several strips of cloth-backed double-faced tape. The carrier eliminates any catching or flexing as the workpiece passes from the infeed table into the planer. Also, if the workpiece shatters under the knives, the carrier board protects the table from damage. Follow this procedure to produce veneer down to 1⁄8 " thick.