Reclaimed Lumber

As woodworkers, we tend to believe our final coat of finish marks the end of wood's lifecycle from tree to completed project. But locked away in dilapidated barn beams, discarded headboards, and demolished houses a treasure trove of lumber awaits its reincarnation as your next project.
There are many reasons to work with salvaged wood. If you're willing to trade sweat equity for value, you can save some hard-earned cash. Or maybe you're after the rustic look in the first place, so the appeal is the salvaged style. Provenance provides another purpose, emphasizing the personal or historical connection to the wood's past life.
Regardless of your reasons, seeking and salvaging lumber takes a practiced eye and a little extra care.
Check out our advice on Where to Find Salvageable Lumber
Then read on for tips on how to work with the lumber you reclaim.
Renewing Old Stock
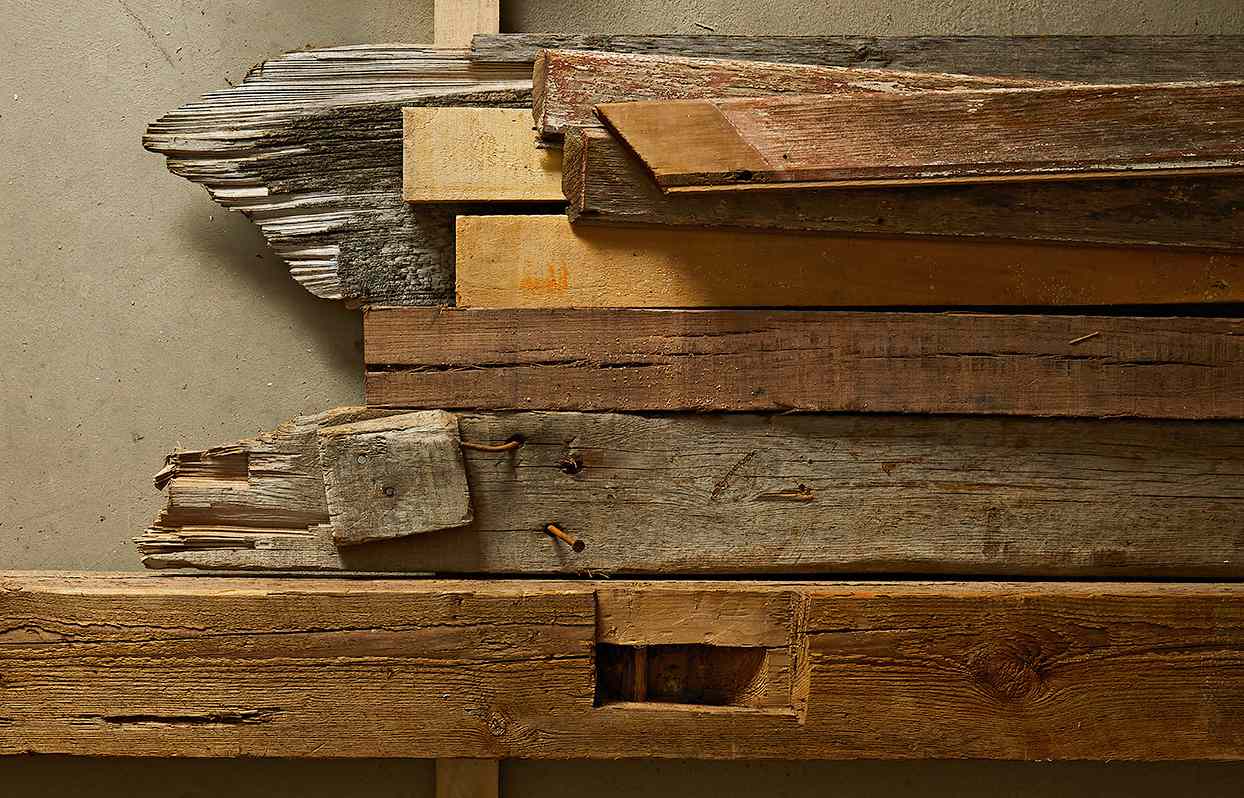
Underneath that weathered exterior lies prized lumber … along with a few gotchas. If you're working that lumber back to raw wood, adding a few additional steps can protect your tools and your health.
First, don't skimp on the safety precautions. On top of generations of embedded dirt, reclaimed lumber might also carry mold, animal feces, or traces of lead paint, all of which become airborne as soon as you start sanding or cutting. Combine a respirator and dust collection to protect your lungs along with goggles or safety glasses to protect your eyes.
Blade-dulling dangers lurk in time-worn wood as well. Tackle them in three major steps before machining the wood to final dimensions at your tablesaw, jointer, and planer:
1. Remove the metal
Buried metal fasteners are the first hidden hazard to hunt for.


After your first round of metal-removal, above, repeat the scan with the metal detector, below, to reveal any left-behind fragments or doubled-up nails you might have missed.
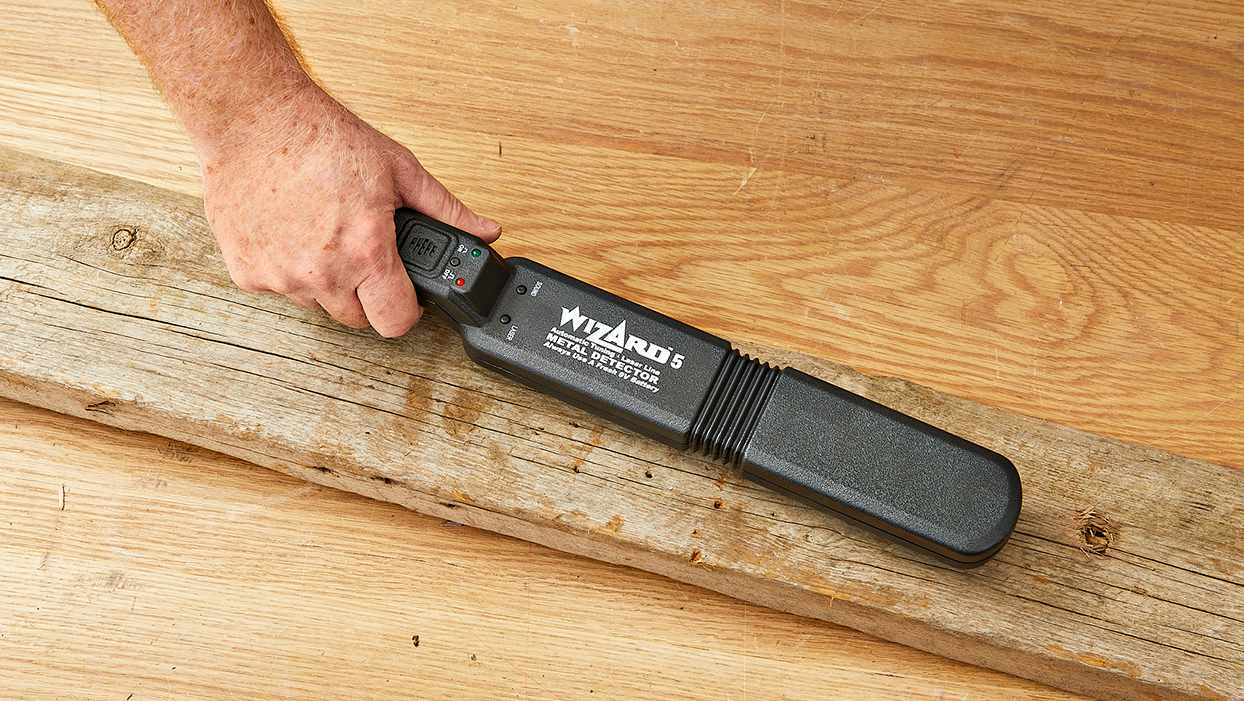
Prices for wand-style metal detectors range from $30+ for models with simple LED indicators to $150+ for versions with laser locators and auto-tuning features, above. But they pay off when they prevent you from ruining tablesaw blades and router bits. Following the scan, gather hammer, prybars, and nail pullers and get to work on any hits.
2. Dislodge the dirt
Dirt's dulling effect on blades, bits, and abrasives is speedy, if not as abrupt as metal. Make your second task powering away the most obvious dirt.
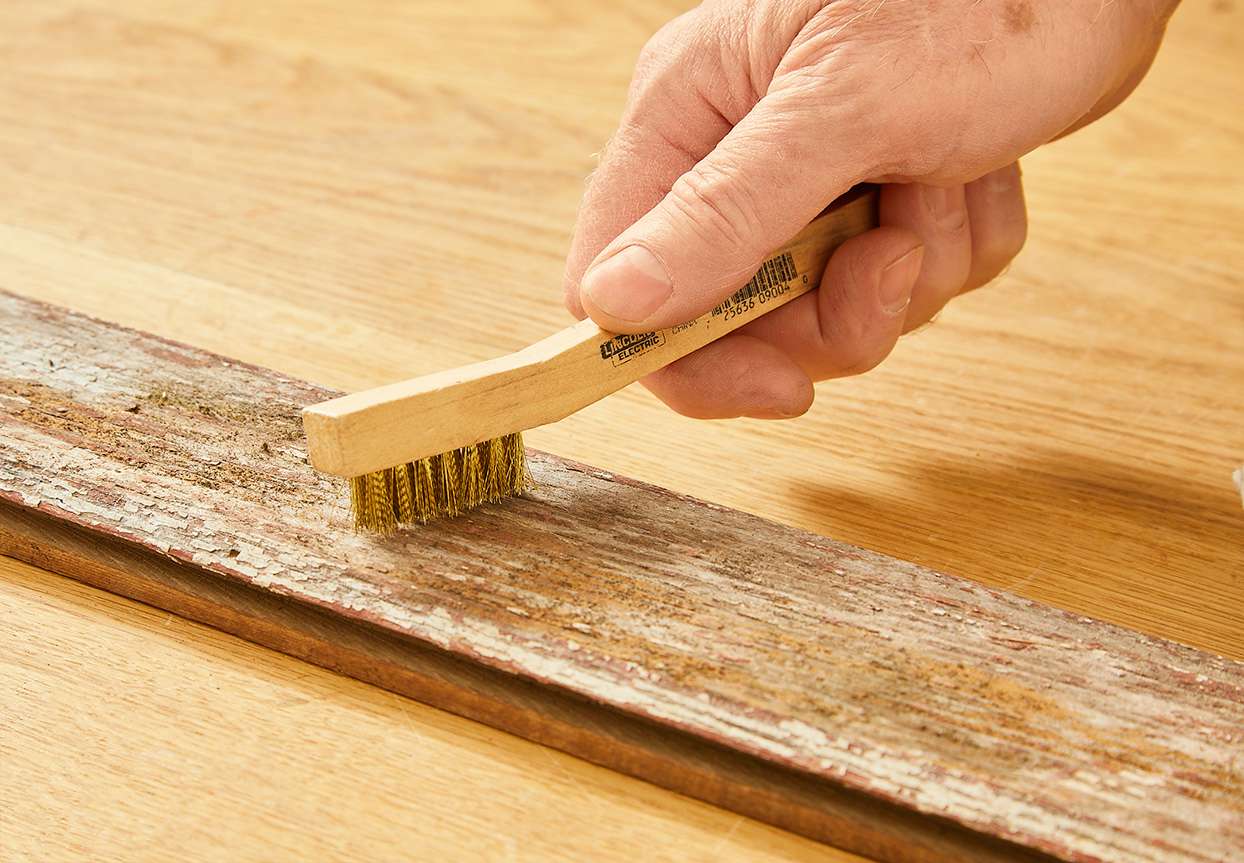
A wire brush, either handheld, above, or drill-powered makes short work of the task on the board's faces. That porous end grain, however, has spent the years wicking dirt up inside. Switch to your least-favorite circ-saw blade and cut a bit off each end to reveal clean wood.
3. Off with the weathering
With the bulk of the hazards removed, switch to a belt-sander or power planer, below, to remove the weathering, revealing the grain and clearing away any remaining dirt. That finally clears the path for machining.
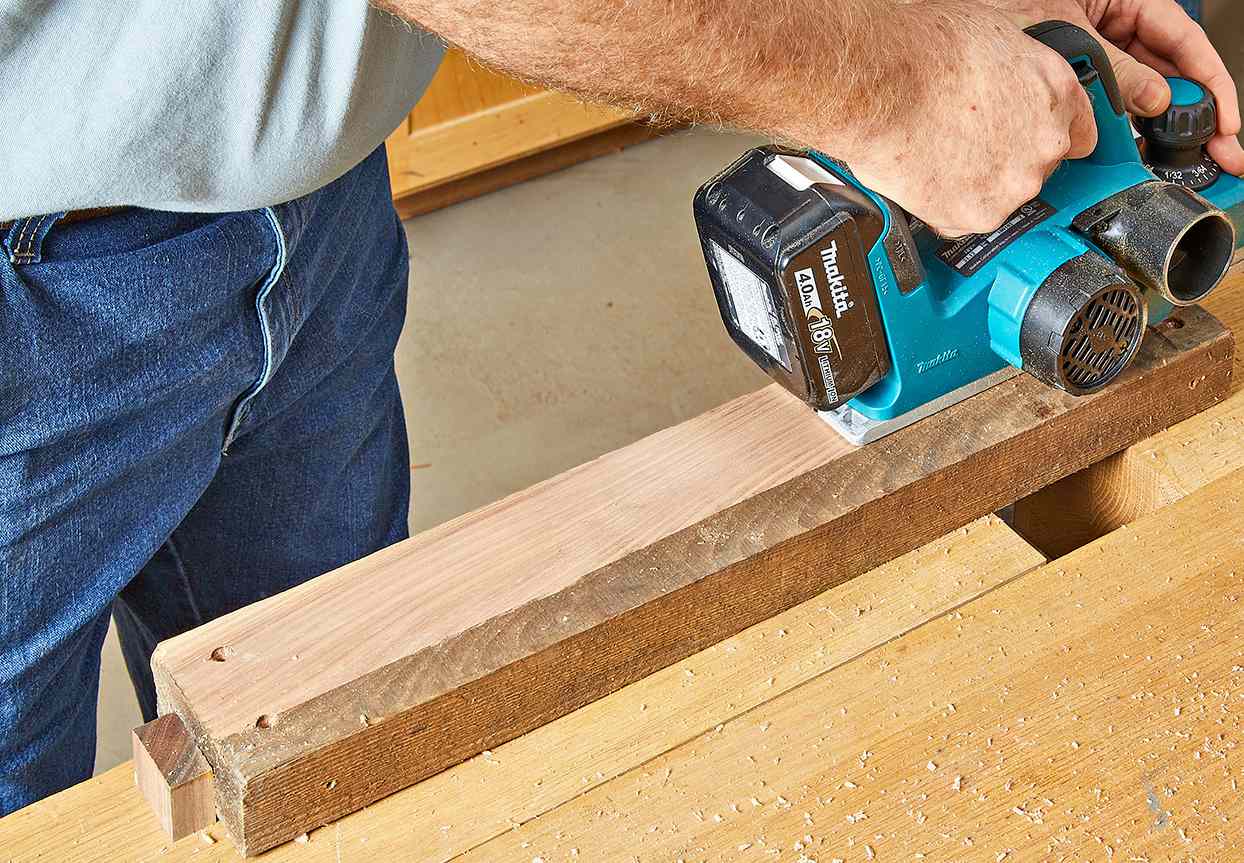
Rip the edges off at the tablesaw to remove the last bit of weathering. Flatten a face and square an edge at the jointer. Then thickness at the planer before cutting your workpiece to final size.
Keep the salvaged look
If your aim is to retain and display a salvaged-lumber look, center your design and build strategy around the joinery and finish. You'll still want to start by removing metal and giving your salvaged boards an initial brush-down. But switch to a plastic-bristled brush to avoid taking off too much of the patina. Prep more wood than you'll need for testing finishing options later.
Tip: Weathered wood has a tendency to tear out, especially when cross-cutting. Use a utility or hobby knife to score cutlines before sawing.
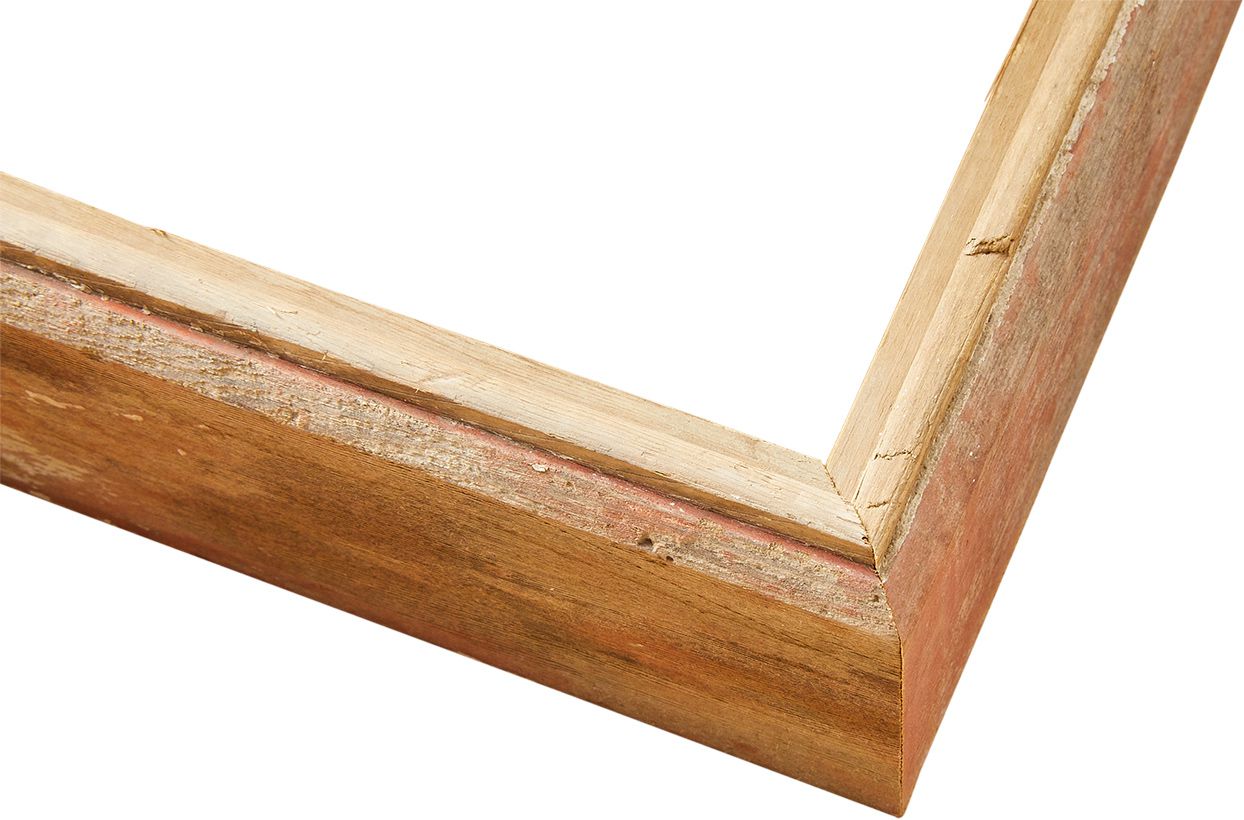
Cutting reclaimed wood takes extra care. Plan your design around joinery that minimizes fresh-cut, unmatching wood that could bely the salvaged look, above. In your layout, consider incorporating previous joinery, nail holes, and even faded signage or branding to further emphasize the wood's provenance.

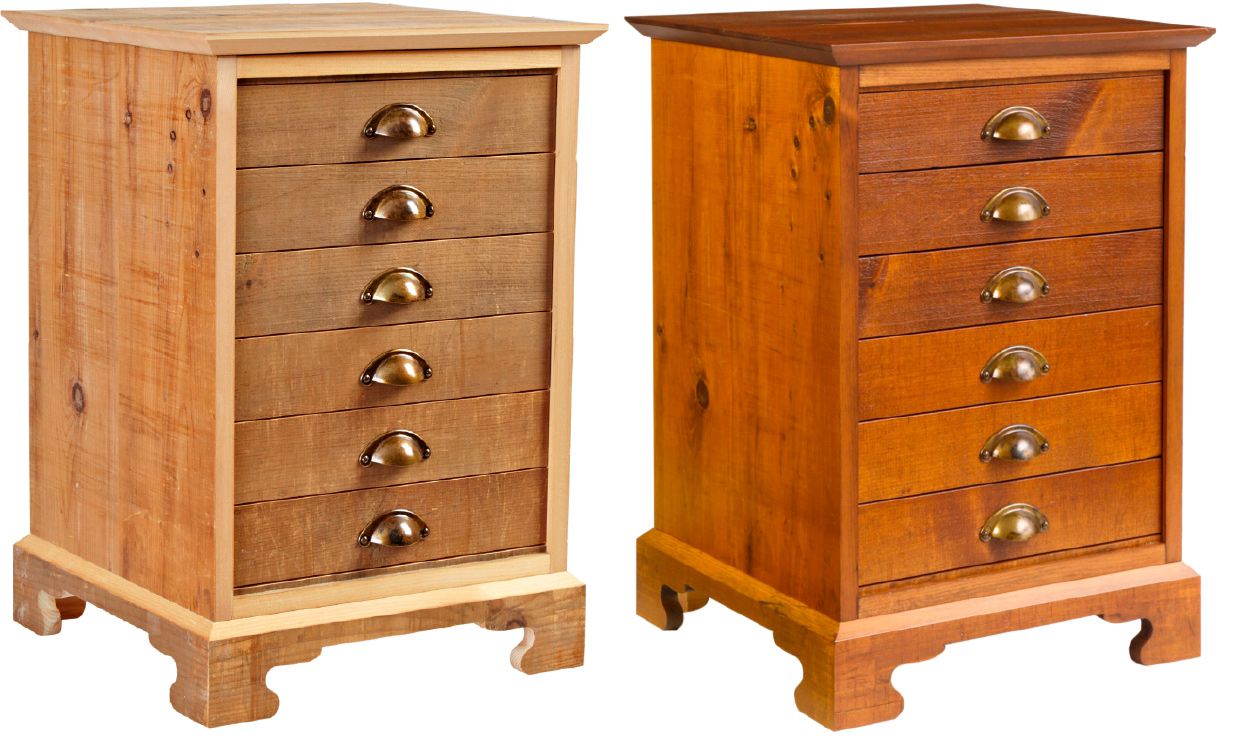
Where you can't avoid fresh-cut surfaces, mimic character or sawmill marks with power tools, above.
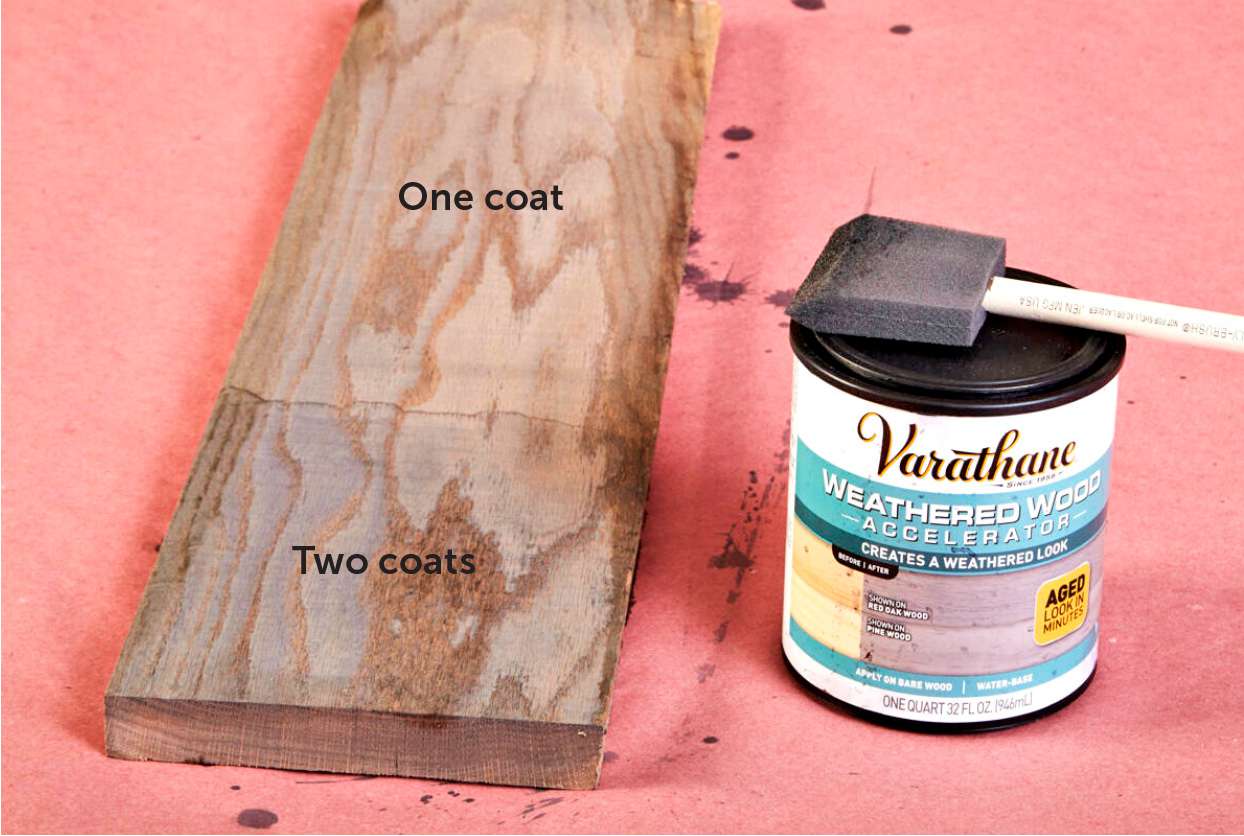
Then, use combinations of dyes, stains or other colorants, above, to match the fresh-cut wood to the reclaimed. The two types of surfaces will change color differently under a clearcoat. Test both the colorant and clearcoat on scrap before finishing your project.
A finish from the source
Matching weathered wood can be tedious. If you're struggling, try this novel approach that transplants the patina from weathered wood to fresh-cut.
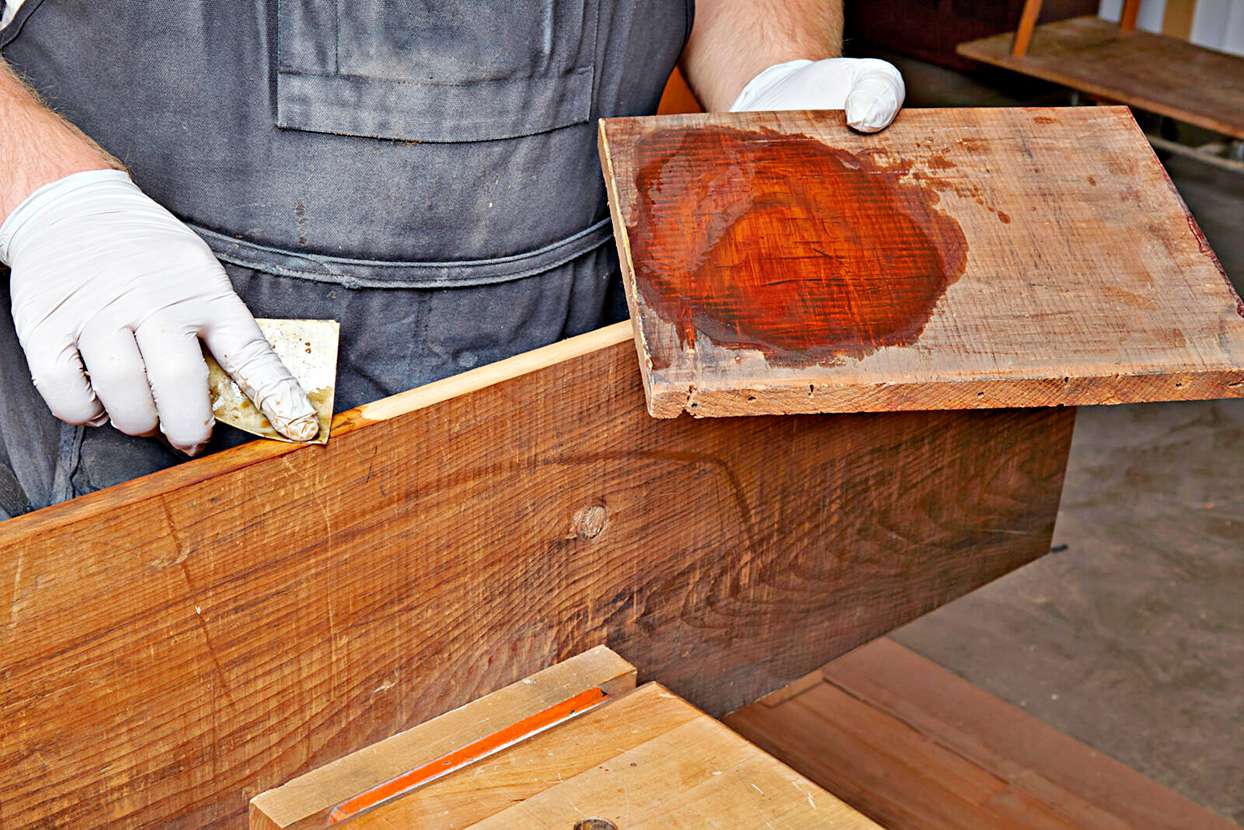
Start by mixing mineral spirits with a natural- orneutral-tint oil-based stain in a 50/50 ratio. Apply a puddle to a donor board and use 220-grit sandpaper to stir up a slurry of old finish. Transfer that finish to your fresh-cut edges. Add coats as needed to make a match.