Marking Gauge 101: Score Boards for the Win!

Every woodworker should have a marking gauge in their apron pocket or near their workbench. Whether you use power tools or hand tools, a marking gauge makes crisp, clean lines for layout work—much more precise than a pencil line. Here's how to get the most out of this must-have tool.
What's in a gauge


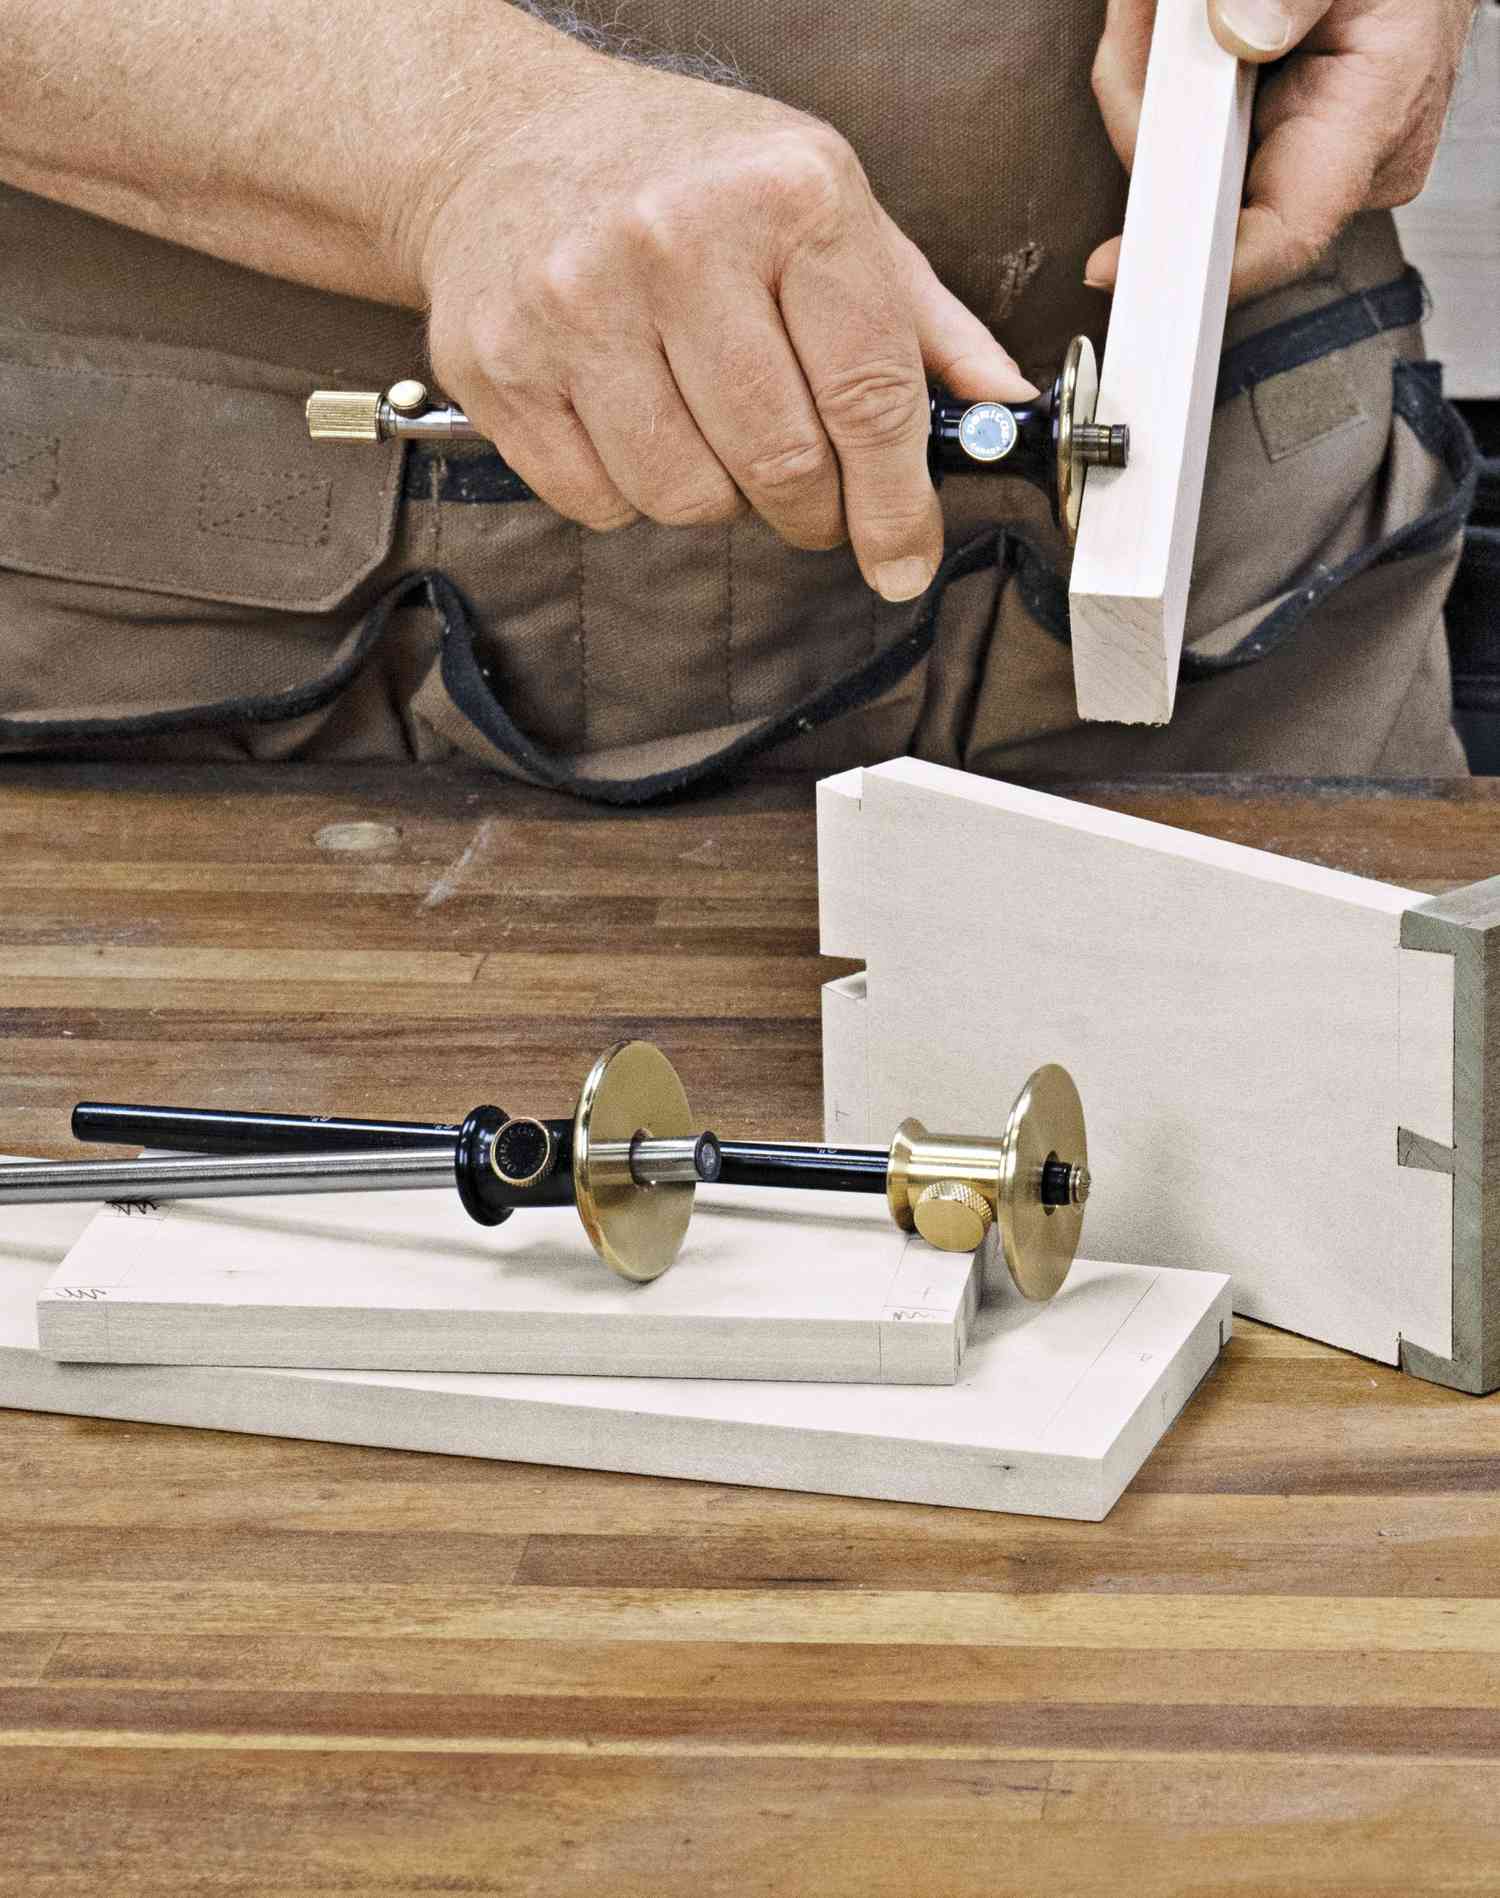
All marking gauges share common features but may differ in their design (photo, above). Although traditional wood-body gauges have been around for centuries, we prefer metal marking gauges that feature a small steel wheel at the end of the beam and offer these advantages:
■ The wheel's beveled edge cuts a crisp, narrow line, cleaner than the pin of a traditional marking gauge.
■ The smooth metal fence glides easily against a workpiece.
■ The cylindrical beam and cutting wheel work in any orientation.
■ The compact metal gauge fits in an apron pocket better than a wooden gauge.
Prepare to score
Despite the simple design of a marking gauge, look over a few things before using it. Check to ensure the cutting wheel isn't bent or nicked. If so, replace the wheel. Most manufacturers offer replacement wheels for just a few dollars, so keep an extra on hand. If the cutting edge appears undamaged but dull, hone it by removing it and rubbing the flat side on a sharpening stone or fine wet/dry sandpaper on a flat surface.


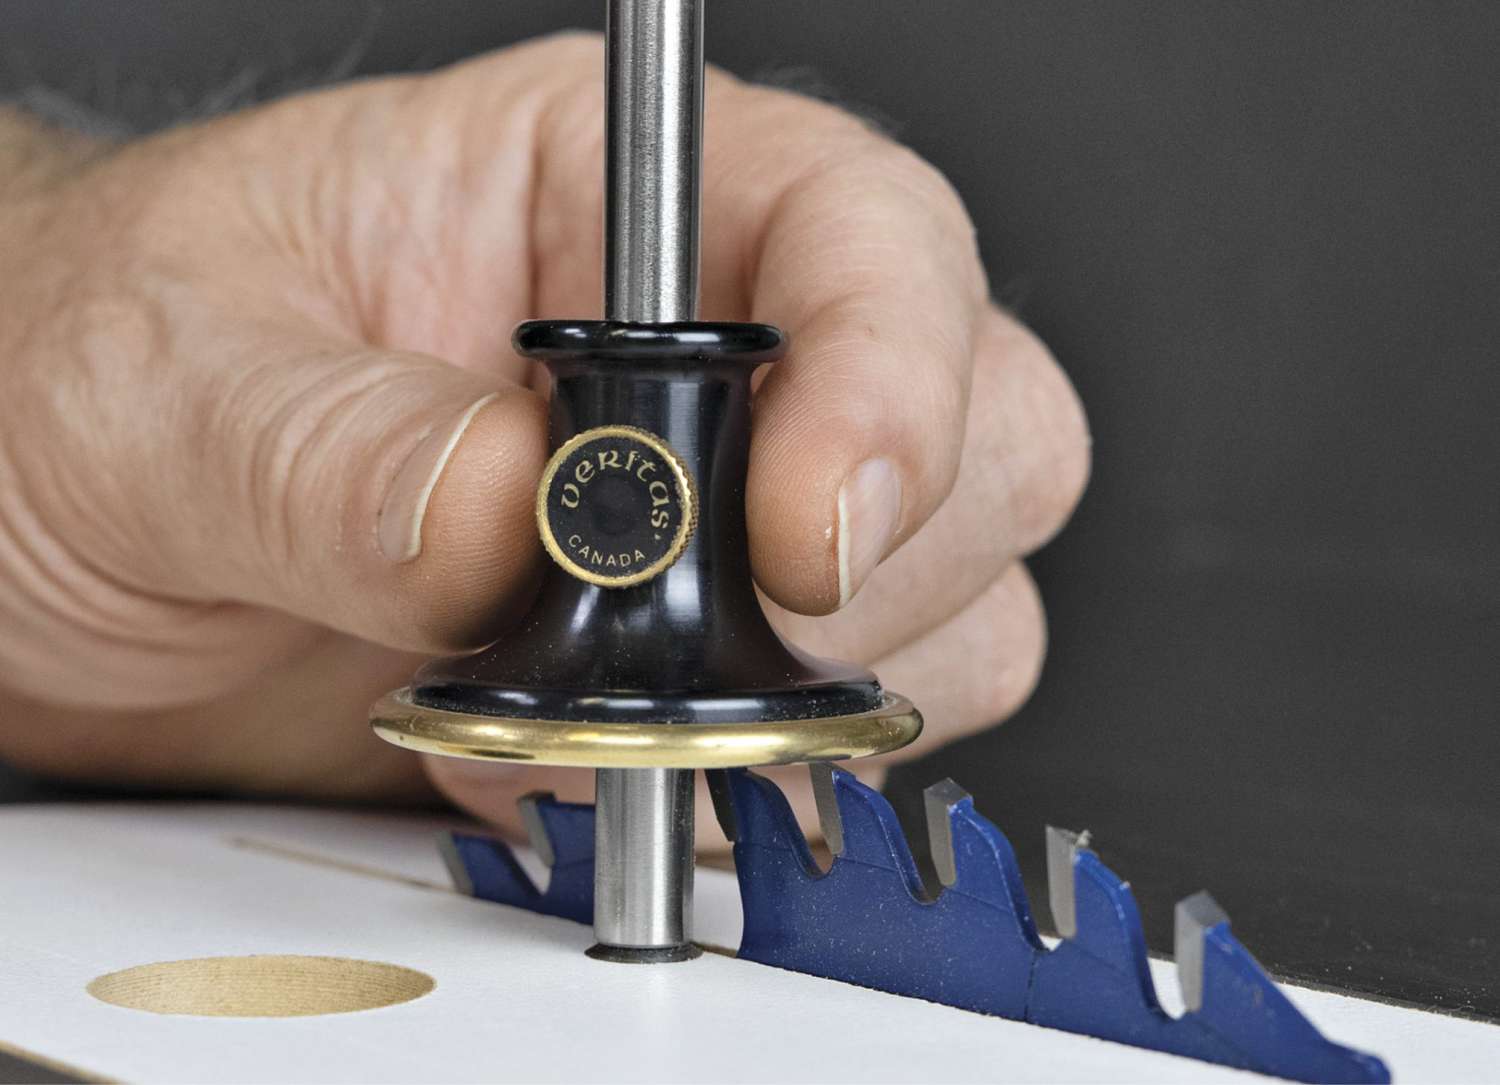
You might think that the wheel must spin freely at the end of the beam. But if it does, the wheel simply rolls over the surface of the wood without scoring a line. Fix the wheel in place by tightening the screw (photo, above). One big advantage of this style of marking gauge is the entire circumference of the wheel serves as a cutting edge, regardless of the gauge's orientation.

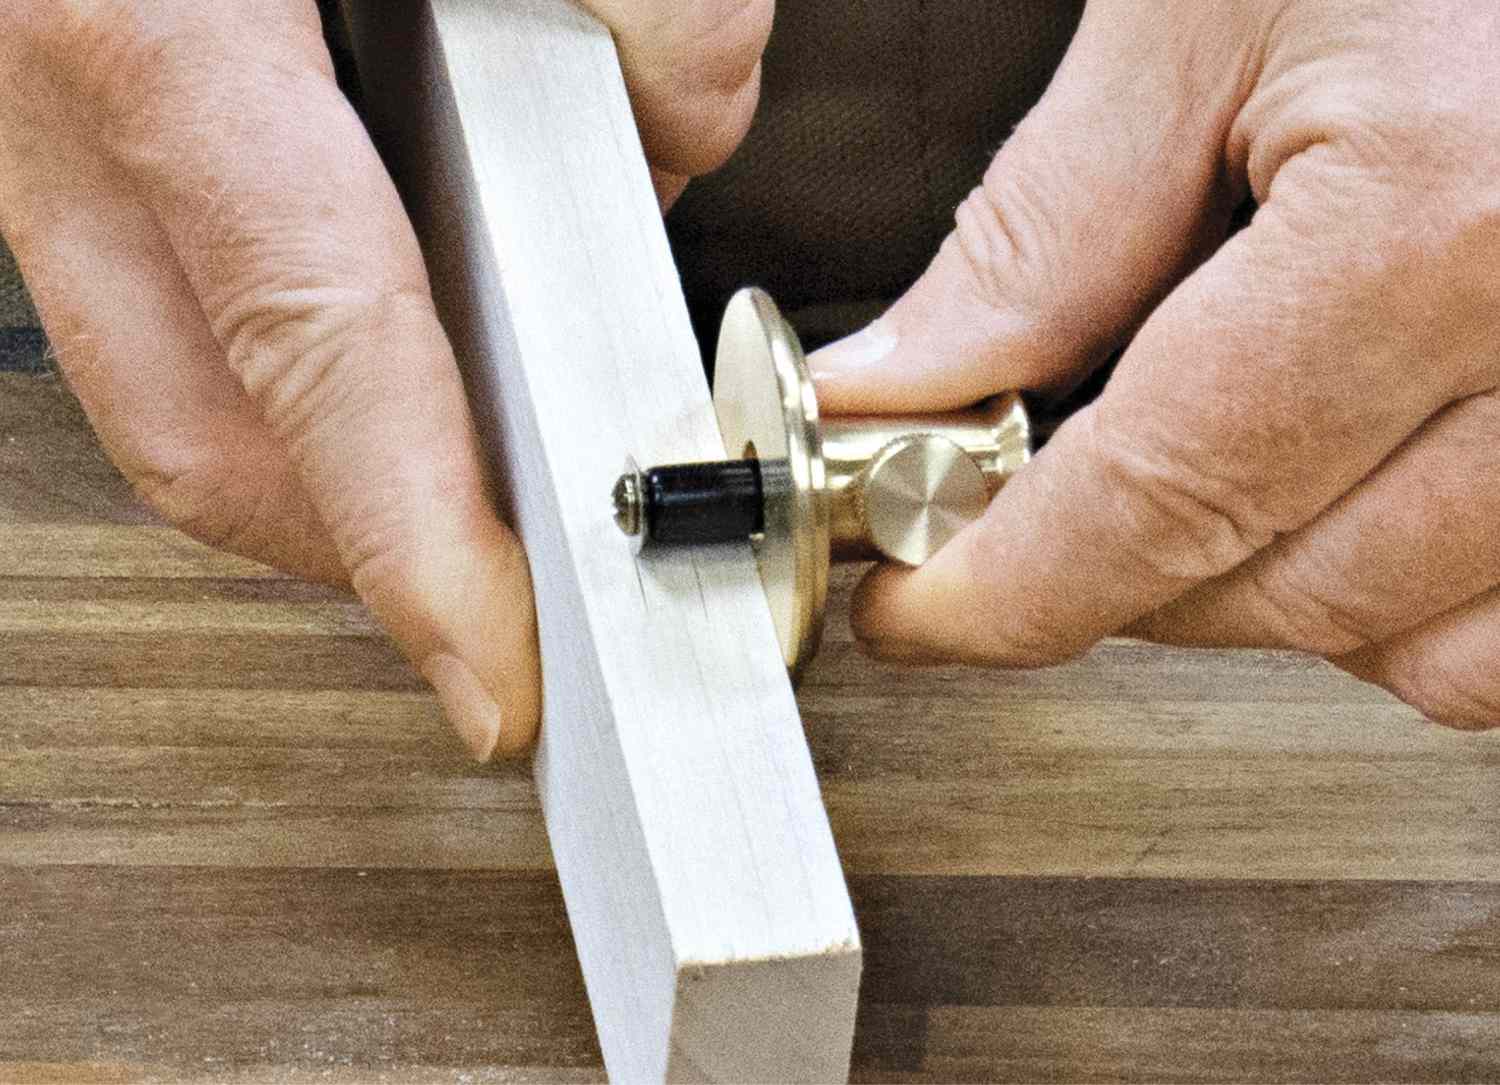
Orienting the wheel's bevel toward the fence (photo, above) helps draw the fence tight against the edge of the workpiece, reducing the chance of the wheel following the grain instead of marking parallel to the edge.

To set a marking gauge, use a metal rule for accuracy (photo, above). It's easy to align the wheel over a line on the scale. Lock the fence in place. Any slippage of the fence results in an inaccurate, uneven line.
6 ways to work it
Using a marking gauge is pretty intuitive: Press the fence tight against the workpiece, and slide the gauge to score a line. Apply enough downward pressure to score the line in one pass, as shown in the opening photo, above. Making multiple passes risks creatinginaccurate ghost lines if the fence strays from the workpiece.

A marking gauge shines at laying out joinery. With one setup, you can score cheek and shoulder lines for tenons and their mating mortises, for example. Referencing off opposite faces of the workpiece when marking the cheeks centers the tenon or mortise on the workpiece thickness (photo, above).

For handcut dovetails, scribing the baseline of the joint on the workpiece serves a couple of purposes. First, the scored line provides a visual reference for the depth of cut when sawing the tails and pins. And, when it comes time to remove the waste, the chisel snaps into the scored line, leaving no doubt where remaining material must be removed (photo, above).

To set a metal marking gauge to match the thickness of a workpiece, stack the workpiece on a scrap on the benchtop. Set the fence of the gauge on top of the workpiece, then slide the beam until the edge of the cutting wheel contacts the scrap piece (photo, above).

If you make the pins and tails of an assembled dovetail joint stand a little proud of the adjacent surface, a couple of swipes with a hand plane clean up the joint and make everything flush. To set the gauge for this extra length, extend the cutting edge about 1⁄32" beyond the thickness of the workpiece (photo, above).
A marking gauge excels at determining the center of a workpiece without math. Use this method, for example, when laying out lap joints where the depth of the dadoes must match half the thickness of the workpiece.
Start by setting the marking gauge to approximately half the thickness of the workpiece. It doesn't need to be precise—just eyeball it.
Now, place the fence of the gauge against one face of the workpiece and make a little tick mark. Flip the gauge to the opposite face and make another mark (photo, above). If the two marks coincide, you've found the center. If not, make minor adjustments and repeat the process until the two marks align.
After marking the depth of a half-lap or tenon cheek, use the gauge to set blade or bit height to match (photo, above). In similar fashion, determine the depth of a rabbet, dado, or mortise for marking a mating piece by resting the cutter on the lowest portion of the joint and the fence on the face of the workpiece. Note that with a typical diameter of 3⁄8" the cutter won't fit into dadoes or mortises narrower than that.
Caring for your gauge
A wheel-style marking gauge with a round fence can easily roll off the bench, bending or dulling the wheel. To prevent this, slip the beam of the gauge into a doghole in your benchtop.
When you finish using the marking gauge, retract the beam so the wheel nests in the recess machined into the fence. This protects the cutting edge and allows you to stand the gauge on its fence to keep it from rolling away.
Since some components of a marking gauge are made of steel, it doesn't hurt to apply a light coat of oil or wax after use. This not only keeps rust at bay but also makes the gauge work more smoothly.
Modify a pin-style gauge

Traditional wood-body marking gauges use a steel pin for scoring the wood. The problem is, the pin tears the wood fibers when scoring across the grain. And when marking parallel to an edge, the pin tends to follow the grain, sometimes forcing the fence away from the edge of the workpiece.
To improve the performance and reliability of a pin-style gauge, file the inside of the pin (the side facing the fence) to create a bevel, like that on a chisel. This creates a sharp scoring edge that cuts the wood fibers instead of tearing them, leaving a precise layout line.