8 tips to square corners
Before building projects with truly square corners you're proud of, you need the proper tools and setups. Use these tips in the shop to get it right the first time.
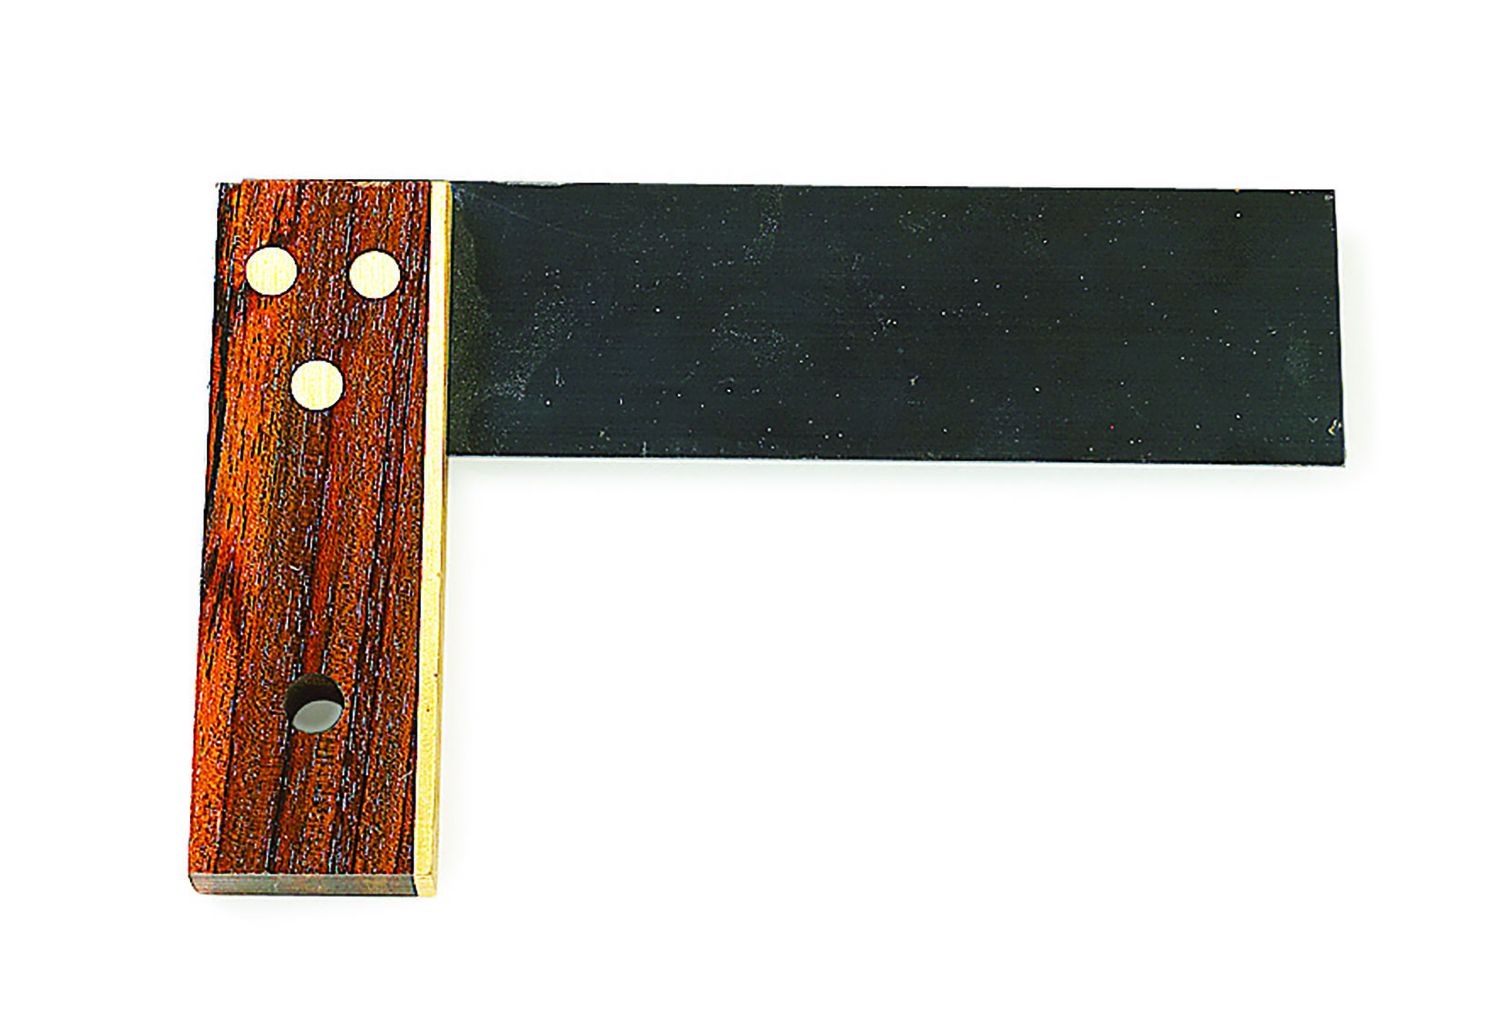
Square projects start with dead-on-accurate tools
In your shop, squares must be absolutely square, measuring instruments must be accurate, and power tools must be set to machine precisely. But precise tools by themselves don't guarantee square assemblies; good technique plays a role, too.
1 of 11
Not all squares are reliable
Never trust any tool right out of the box. Even minor bumps or dings during packaging or shipping could alter the tool's accuracy. Always check it and set it up with squares, rules, and calipers that you know to be accurate, as we'll show you in the following steps.
2 of 11
Drafting squares are invaluable
Use drafting squares--which prove reliably accurate--to check your woodworking squares, as shown in photo.
3 of 11
Checking for square
Check your square's accuracy by comparing drawn lines made from opposing sides of the same reference point.
4 of 11
Punch it out (or in)
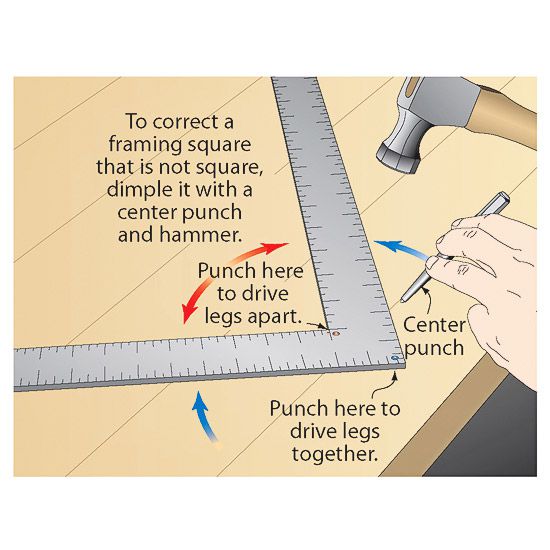
Correct any flat square by laying it on a flat surface and striking its intersection with a hammer and center punch.
5 of 11
Take best shop tools to the store
Take your drafting square and accurate steel rule to the store and check new squares and measuring tapes for accuracy before buying. To test the tape for outside measurements, hook it on the end of your steel rule and compare the two at the 12" mark, as shown in photo. For inside accuracy, just push the front of the hook against a rigid surface and do the same with the rule, holding it alongside the tape.
6 of 11
Check blade perpendicularity
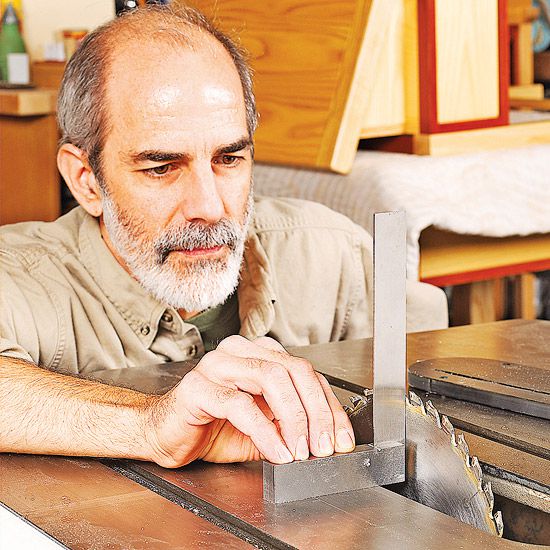
With an accurate square, adjust your tablesaw blade so it cuts perpendicular to your tabletop. To do this, remove the throat plate, raise the blade to full height, and position the square for maximum contact with the table surface and blade body, avoiding the teeth.
7 of 11
Lock it in at 90°
Regardless of what tool you use for crosscutting (mitersaw, radial-arm saw, or tablesaw), the blade and fence must be exactly 90° to each other. Square the blade to the table vertically and horizontally, both at the fence and at its farthest reach.
8 of 11
A large, flat assembly table can be your best tool
To assemble and clamp your projects square, you need a reliably flat surface to work on. This assembly table might be separate from your workbench, which can take abuse from tools and accessories.
9 of 11
Hardwood frame adds strength
The table shown on the previous slide was built from a 4 x 8' sheet of 11⁄4" particleboard, and edged with 2"-wide hardwood attached with #20 biscuits, as shown in the drawing. Plastic laminate was glued to the top because it resists finishes and glue better than a porous wood surface.
10 of 11
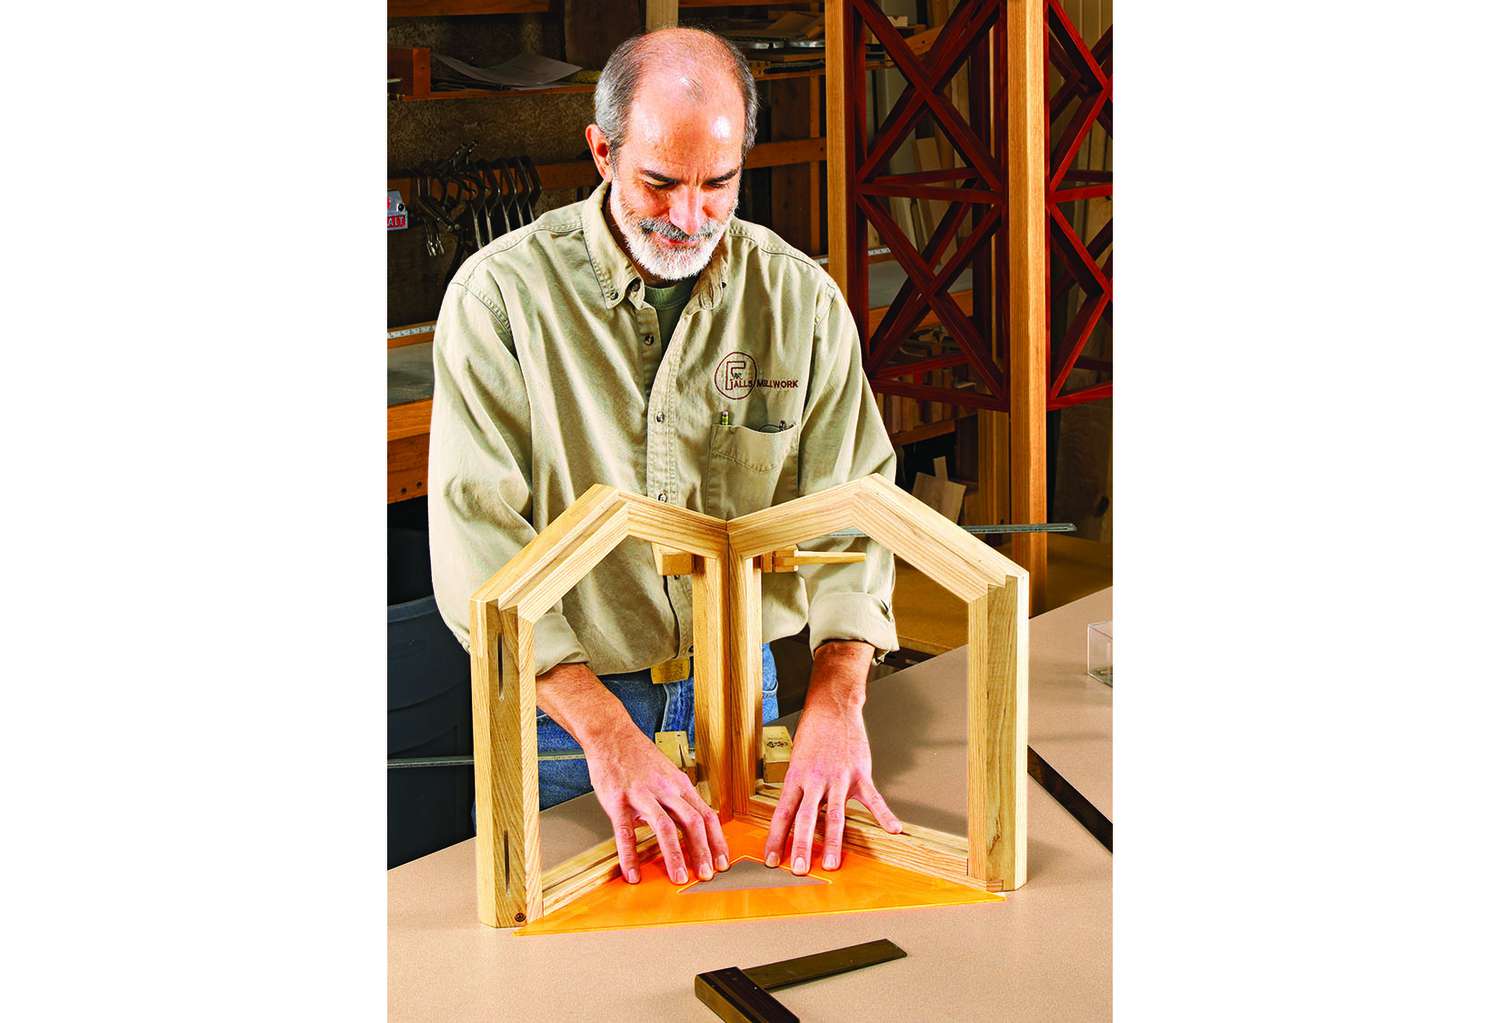
Measuring diagonals still gets the job done
If the diagonals are equal, your assembly is square, To check diagonals, glue and clamp your assembly and then use a measuring tape to compare the diagonal measurements across opposing corners. Hook the tape onto the outside corner and read the measurement from the outside of the corner nearest you. If they're not equal, correct them by clamping across the longer diagonal, as shown. Measure from the inside of the corners if your clamp is in the way. Determine the midpoint between the two measurements, and tighten the clamp until both read the same.