Tame tricky clamp-ups

Dry fit
Note: Before tackling a difficult clamp-up, walk through it first without glue (known as a "dry fit"). This exercise tells you whether you have enough clamps of the right type and size, which parts need more work to fit, and if you need any additional help or accessories. Plus, the dry fit familiarizes you with the assembly process before you find yourself racing against the glue's setup time.
Beat the bulk
Large assemblies, such as casework and cabinetry, require loads of clamps, and big ones at that. To apply pressure to areas beyond the reach of the clamp's jaws, extend their reach with cauls (below), or use a heavy object instead (center center). If you don't have enough clamps to complete a glue-up, try making just a few clamps do the same job (third below).


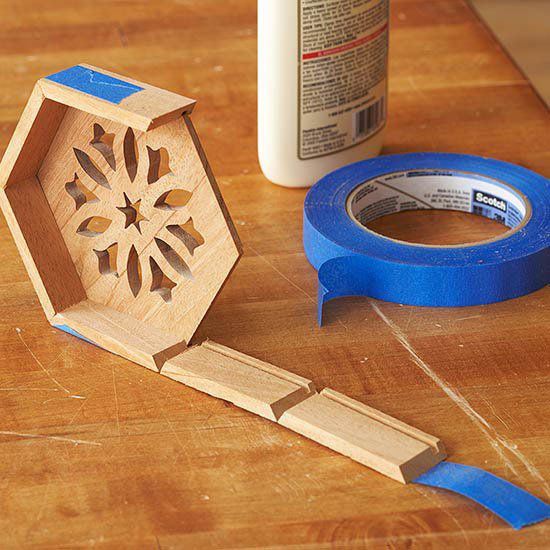
Tackle it with tape
Flexible, disposable, and adjustable, painter's tape—available at most home centers—excels at holding small parts securely. Use it when an assembly lacks adequate clamping area, has an unusual shape that makes it difficult to get clamps in place without creating a crisscrossed mess (below), or is too delicate for clamps (second below).

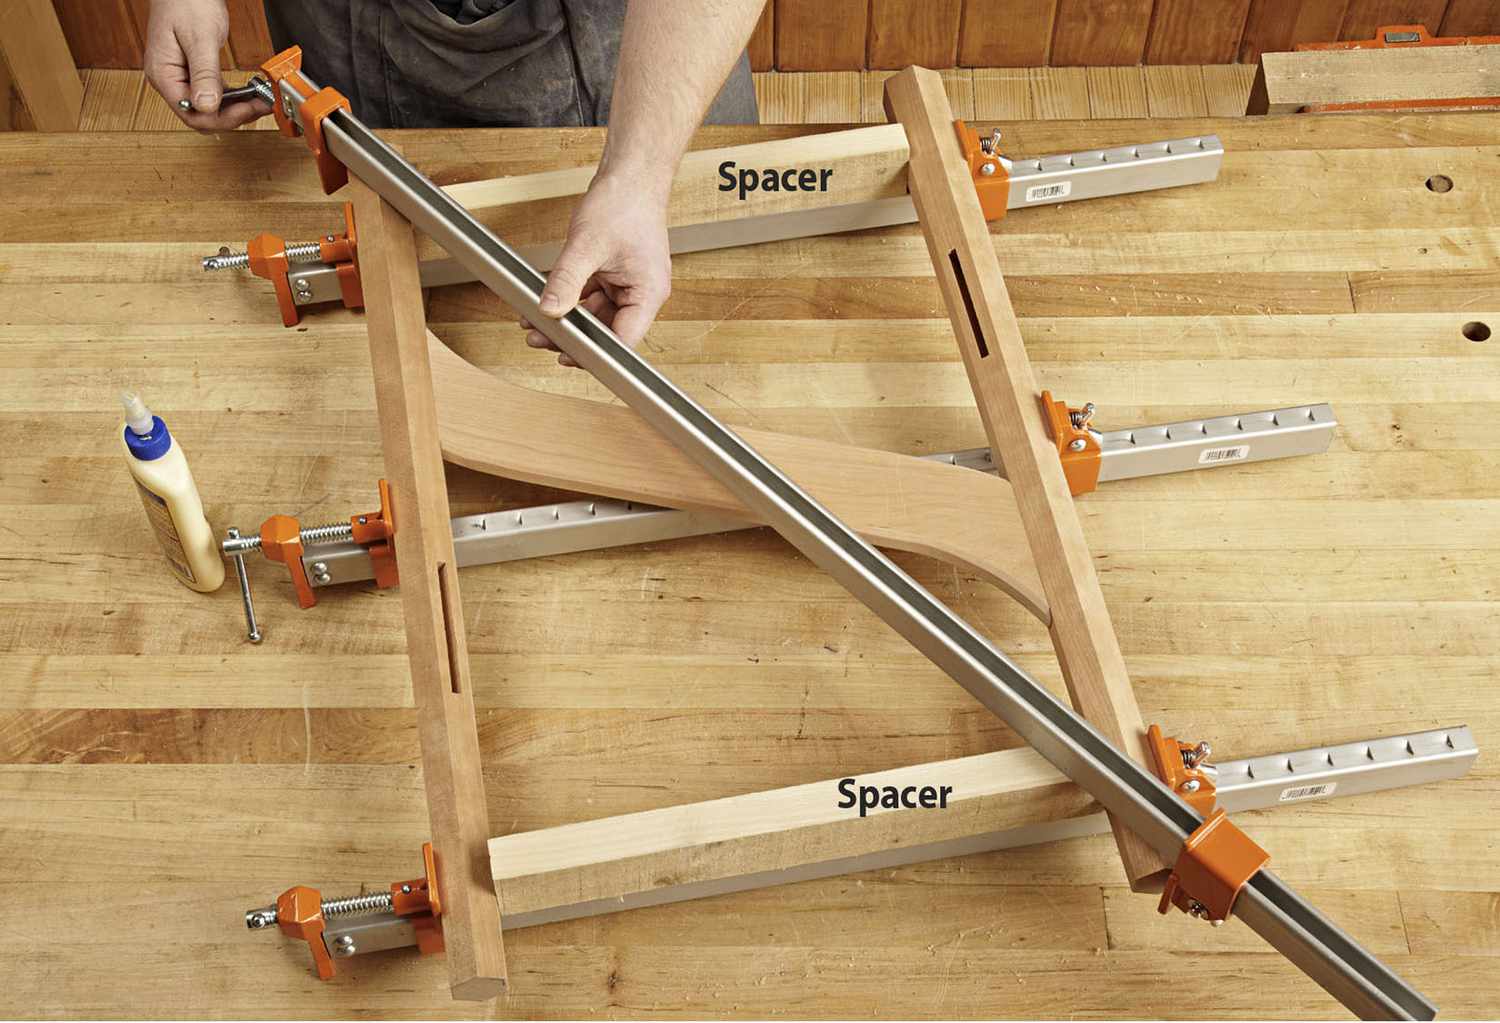
Overcome odd clamp-ups
When you can't clamp directly across a joint, such as in the assembly shown at the top of page 18, insert spacers between the legs to equalize the clamping pressure along the assembly's length. When cutting tapered parts, save the offcuts (below) to use as cauls. If you find yourself regularly building un-square projects, purchase a band clamp (second below)—it greatly reduces the hassle of those clamp-ups.


More Resources
- Watch clamping and sanding tricks for perfectly flat panels at woodmagazine.com/clampflat.
- Find nine more clamping tips at woodmagazine.com/clamptips.
- Check out our favorite clamps and clamping accessories at woodmagazine.com/clampreviews.